

Build a Fullstack Chat app to learn Socket.io
About Socket.io
We’ll build a fullstack chat app using React (Vite), Node.js, and Socket.io a library for managing realtime, bi-directional, event based communication between a client (frontend) and server.
Check out the completed code on the done branch: fullstack-sockets-demo/tree/done. The deployed site is live: https://proud-cell-8475.on.fleek.co/
Starter code
I created a starter frontend for you so you can focus on the socket server and client implementation rather than the form/ui creation. In this tutorial we will create a socket chat server. Then we will install socket.io-client and rewire the frontend to connect to the server for bi-directional chat driven communication.

git clone https://github.com/oceans404/fullstack-sockets-demo.git
cd fullstack-sockets-demo
Follow frontend README instructions to start the client
Tutorial
1. Create and run your server
cd server
touch server.js
In server/server.js
console.log("gm from your server!")
Run the server
node server.js
Notice how this runs the console log one time and then exits. Let’s install nodemon, a dev tool for automatically restarting your server when file changes in the directory are detected so that we don’t have to constantly restart the server.
Install nodemon
npm install --save-dev nodemon
Update your server’s package.json to replace the test command with a start command: “start”: “nodemon server.js”
{
  "name": "socket-server",
  "version": "1.0.0",
  "description": "",
  "main": "index.js",
  "scripts": {
    "start": "nodemon server.js"
  },
  "author": "",
  "license": "ISC",
  "devDependencies": {
    "nodemon": "^2.0.20"
  }
}
Now you can start your server by running npm start, and it will auto restart any time you save new changes. Test this by changing your console log statement => console.log("gm!"); and saving the server file.
Kill the server with ctrl + c so we can install new dependencies.
2. Install the Socket.io Server API
npm install socket.io
Initialize Server: server/server.js
Restart the server: npm start. Notice that nothing is logged. This is because the console log statements are waiting for a “connection” event. On connection, “gm!” and the socket id will be logged. Let’s keep the server running and send a connection event from the client.
3. Update the client/frontend to work with Socket.io
Open a second terminal window and cd into the frontend folder
cd ..
cd frontend
Install the Socket.io Client API
npm install socket.io-client
Import the socket dependency and create a socket connection above the App component in src/App.jsx
import { io } from "socket.io-client";

const serverURL = "http://localhost:3000";
const socket = io(serverURL);
Within the App component in src/App.jsx, create a useEffect that runs once at component render. Add an event listener to watch for socket connection and console log the socket. Remove the listener in the cleanup step to prevent multiple event registrations.
Start the frontend by following frontend README instructions and open your chrome dev tools to the console tab. You will see 2 errors. These errors are repeated every few seconds because of HTTP long-polling transport (also simply referred as “polling”) or consecutive HTTP requests being blocked by the server and then retried.
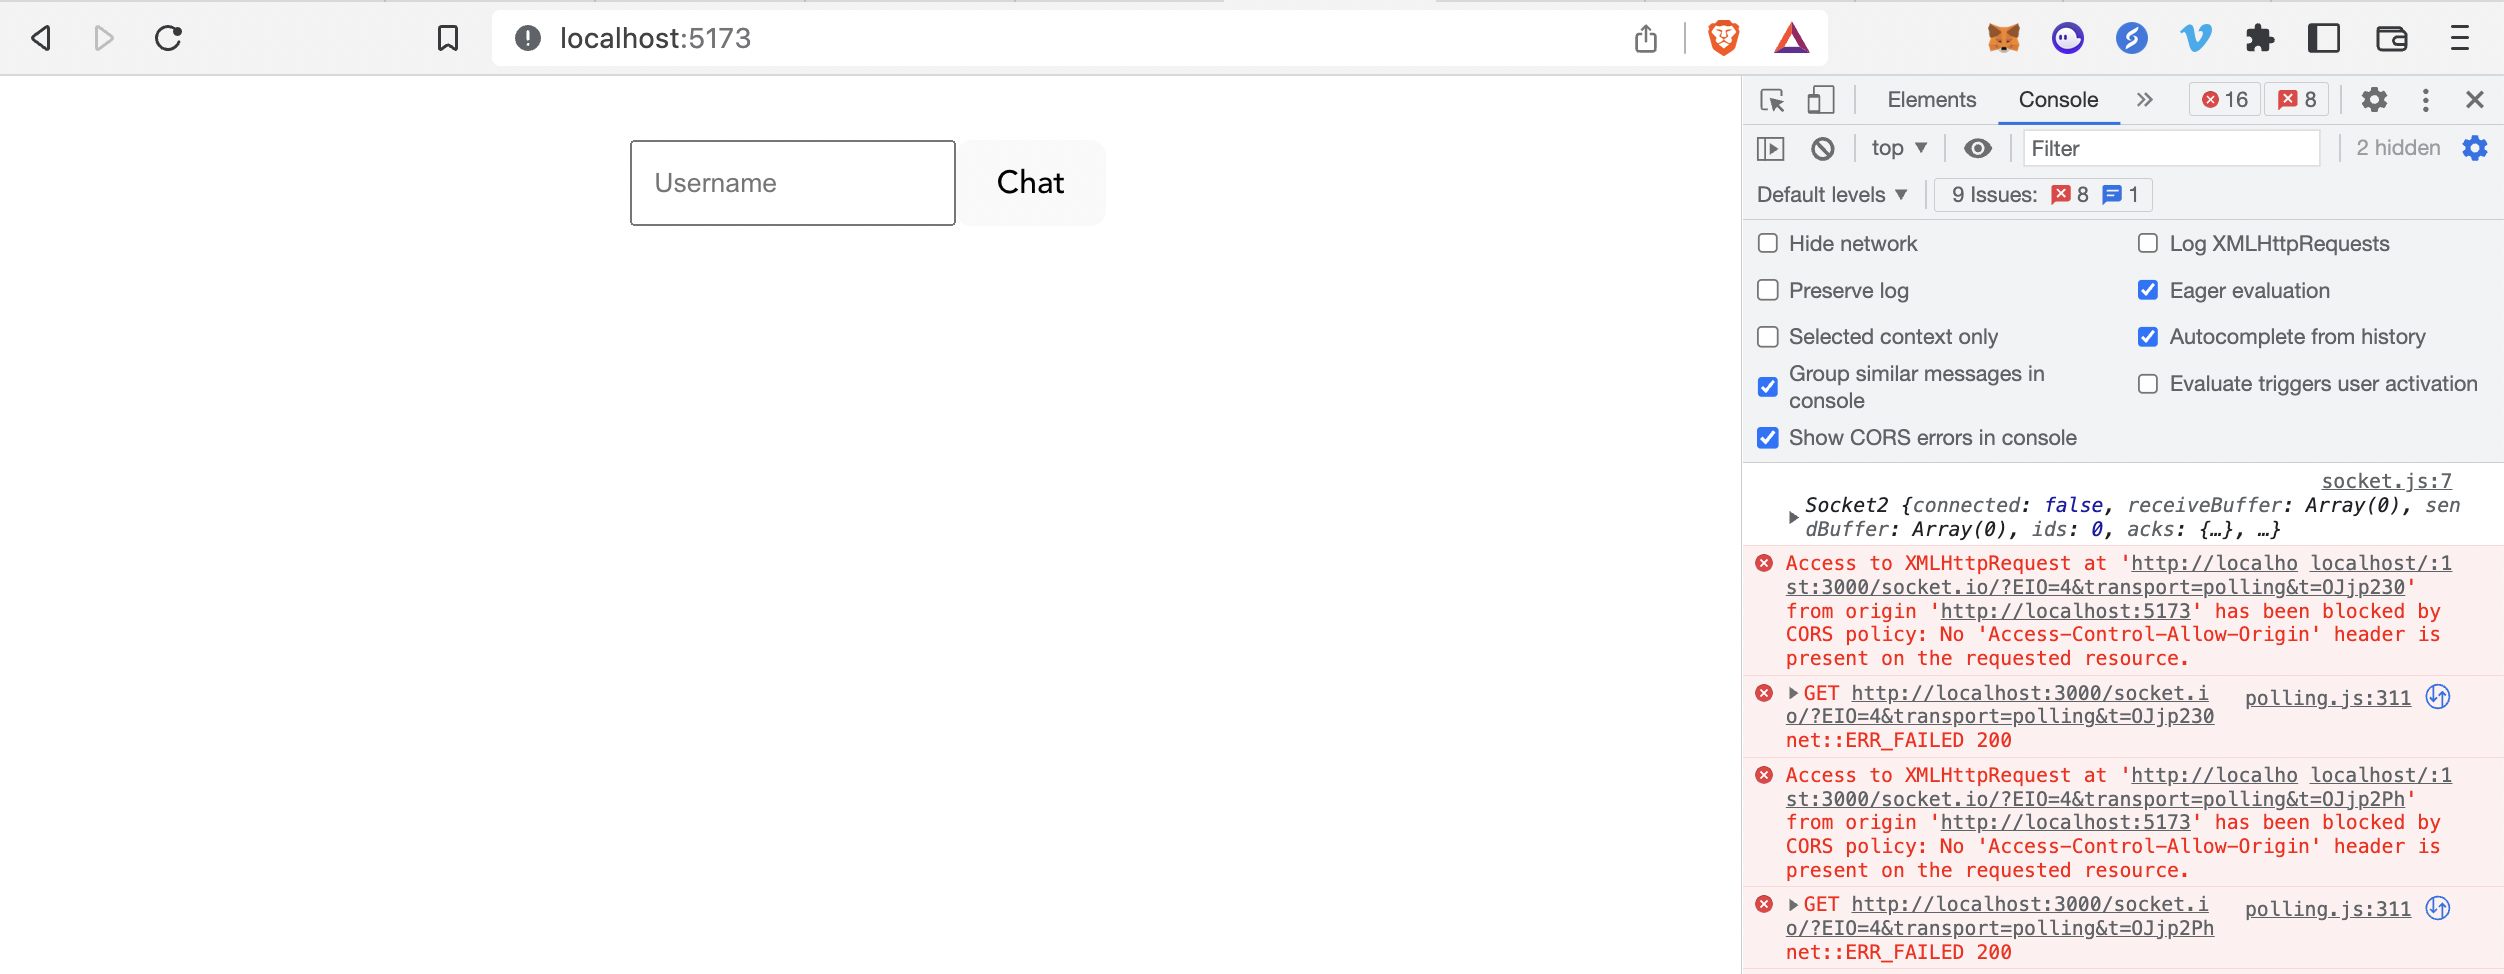
4. Fix Socket.io CORS Error
Error: Access to XMLHttpRequest at 'http://localhost:3000/socket.io/?EIO=4&transport=polling&t=OJjp230' from origin 'http://localhost:5173' has been blocked by CORS policy: No 'Access-Control-Allow-Origin' header is present on the requested resource.
To fix this CORS error, we need to explicitly enable CORS (Cross-Origin Resource Sharing) on the server.
Within server/server.js, replace /* options */ with a cors object that specifies your client origin aka where your frontend is running. Mine is on localhost:5173
5. Track Socket Connect, Disconnect, and ClientsCount
Refresh your frontend website and open the console tool. Every time you refresh the frontend, your server logs ‘gm!’ and the new frontend socket id onto the cli. The frontend logs the socket object with a matching id.

Every open instance of the frontend counts as 1 “connection.” If you open 3 different tabs to localhost:5173, the server logs connection to each. The server can track connection, disconnection, and connected client count.
In server/server.js use io.engine to create a countConnectedClients function to fetch the number of currently connected clients. Log this in your “connect” function. We also want to track disconnection from the socket. Nest a “disconnect” event listener to watch for that action on every connected socket.
6. Learn how to “emit” custom events with data
We’ve proved that our server can “hear” connect and disconnect events from our client and count the total current connections. Connect, disconnect, and connect_error are 3 special events defined by socket. You can also define your own events + any data and “emit” these in either direction
Custom Emit Example 1: Emit “gm” event from server -> client
Server
Client
Custom Emit Example 2: Emit “gn” event from client -> server
Client
socket.emit("gn", {name: "steph"});
Server
7. Emit “set-username” and “new-user” events
Emit a “set-username” event from the client
frontend/src/App.jsx
Nest a “set-username” watcher within the connect event in the server. After a username is set, emit a “new-user” event to all clients.
server/server.js
Update the initial useEffect to watch for “new-user” events and log when there is a new user. Remove the “new-user” listener in the cleanup step.
frontend/src/App.jsx
8. Emit “send-message” and “new-message” events
Update the handleSendMessage function to emit a “send-message” event with data that includes the current userName and the message.
frontend/src/App.jsx
Nest a “send-message” watcher within the connect event in the server. After a message is sent, emit a “new-message” event to all clients.
server/server.js
Update the initial useEffect to watch for “new-message” events. When there is a new message, update the state with the setChats setter to add the new message to the chats array. chats are already mapped visually by the App component.
Remove the “new-message” listener in the cleanup step.
frontend/src/App.jsx

9. Add optional frontend improvements
- Show an “online now” list of connected usernames
- Add “[userName] has entered the chat” / “[userName] has left the chat” messages
- Only keep the latest N messages stored as
chatsin state as new messages come in.
10. Deployment – gtfo localhost
Currently, the server lives on localhost:3000 while running npm start and the frontend lives on localhost:5173 while running npm run dev. These URLS paths are hardcoded in the frontend and server. Let’s move these into environment variables.
Refactor frontend to add environment variables
- Create an .env file
cd frontend
touch .env
- Add a VITE_SERVER_URL variable to the .env file and set the value to your local server url
frontend/.env
VITE_SERVER_URL="http://localhost:3000"
- Add .env to the .gitignore
frontend/.gitignore
.env
- Replace the serverURL value with a reference to the variable in the .env file
frontend/src/App.jsx
const serverURL = import.meta.env.VITE_SERVER_URL;
Refactor server to add environment variables
- Install dotenv and create an .env file
cd server
npm i dotenv
touch .env
- Add a NODE_CLIENT_ORIGIN variable to the .env file and set the value to your frontend local host
server/.env
NODE_CLIENT_ORIGIN="http://localhost:5173"
- Add .env to the .gitignore
server/.gitignore
node_modules
.env
- Require the dotenv dependency at the top of your server file. Replace the clientOrigin value with a reference to the variable in the .env file
server/server.js
require('dotenv').config()
const clientOrigin = process.env.NODE_CLIENT_ORIGIN;
Deploy your frontend
Let’s host our frontend on IPFS for free using Fleek
- Sign in with Ethereum – sign a transaction to connect your wallet of choice
- Click “Add a New Site”
- Connect your Github
- Select your repo: oceans404/fullstack-sockets-demo
- Hosting service: IPFS
- Use the following settings. Then open Advanced and add a VITE_SERVER_URL environment variable of http://localhost:3000. We will update this after deploying the server.

-
Click deploy site. Fleek will build and deploying your site to IPFS and their CDN.
-
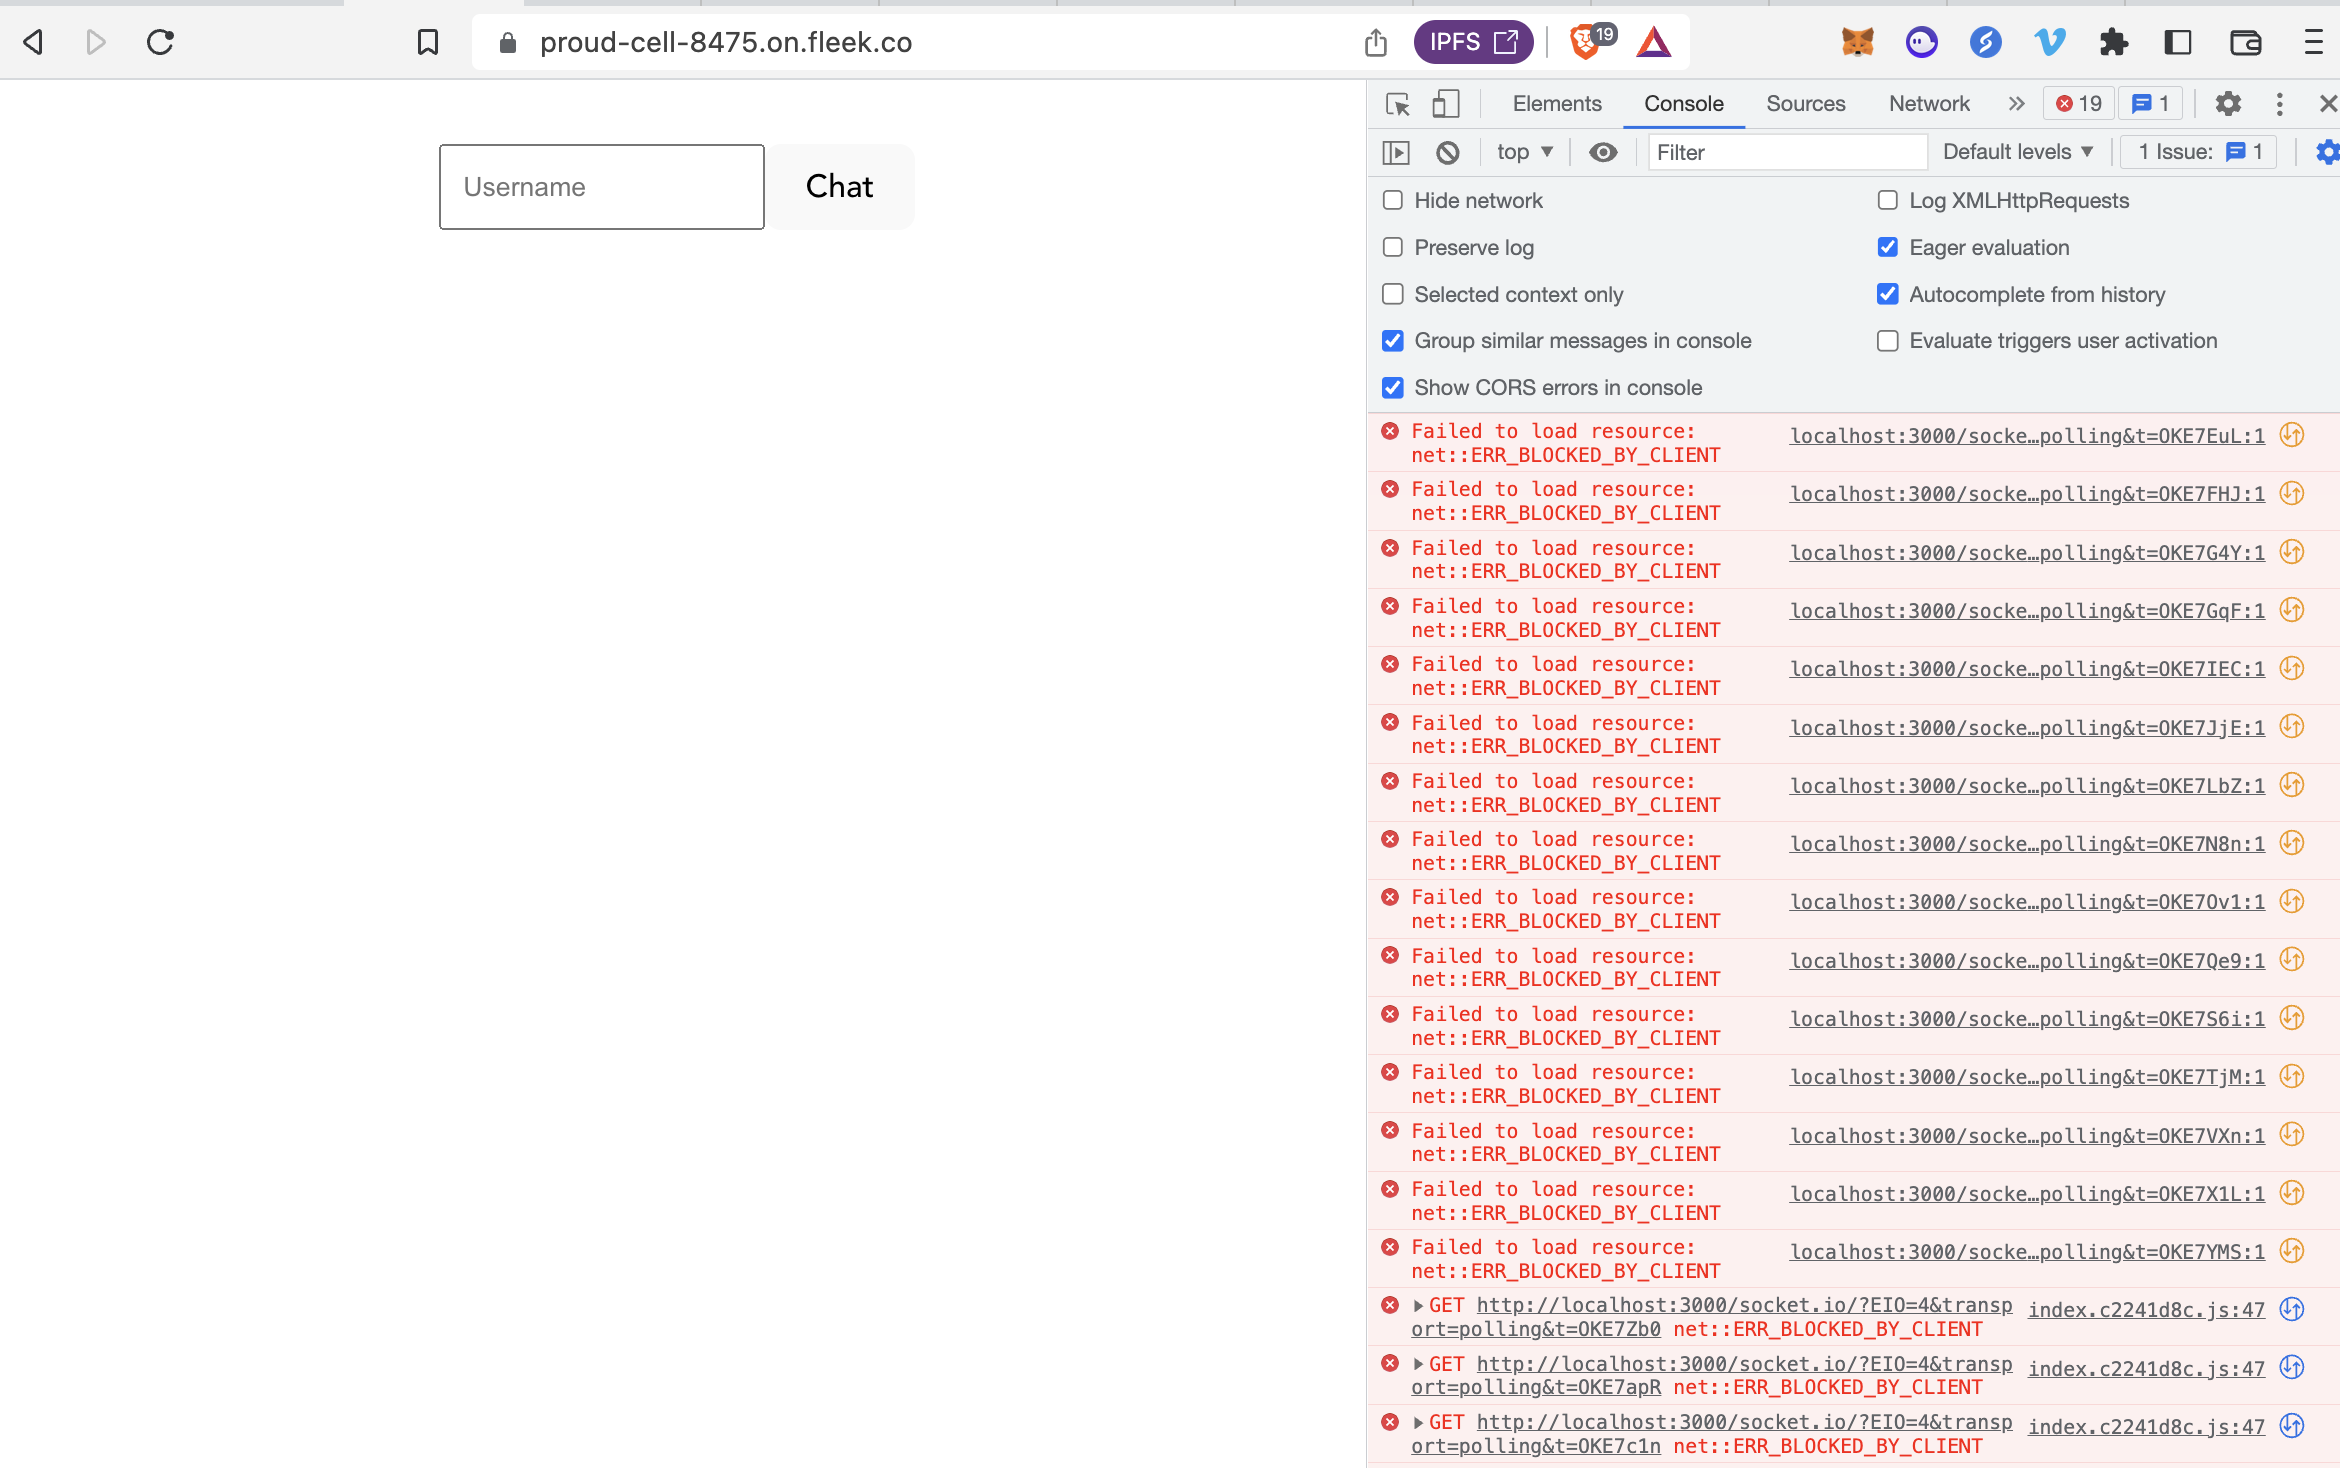
Check the last line of the deploy log for your deployed site. My frontend was deployed to https://proud-cell-8475.on.fleek.co
🥳

- Visit your deployed frontend. Uh-oh, it’s not working yet! That’s because it’s not able to connect to your server at localhost:3000… let’s deploy the server next.
Deploy your server
Let’s deploy and host our Node.js app for free with Render.
- Sign up for Render and sign in
- Select “New Web Service” on the dashboard page
- Connect the oceans404 / fullstack-sockets-demo repo
- Use the following settings.

5. Open Advanced and add a NODE_CLIENT_ORIGIN environment variable of whatever your Fleek frontend was
Mine is set to NODE_CLIENT_ORIGIN: https://proud-cell-8475.on.fleek.co

- Click “Create Web Service” and copy the deployed server url your service name. Mine is https://socket-server-gjqh.onrender.com

- Go back to the Fleek dashboard. Hosting > Settings > Build & Deploy > Advanced Build Settings > Environment Variables. Edit settings in the “Environment Variables” tab and update VITE_SERVER_URL to your server url. Save.

- Go to the Deploys tab and click “Trigger Redeploy”
