

I think you’ll agree when I say that there are many steps to building a website. You have to choose a domain name, setup hosting, pick a theme and decide if you need plugins. With that done, your next step is to create content. And while there are many page and content builder plugins to choose from, WordPress already includes Gutenberg. This is a great option for new users as it’s built-in and is supported by many popular themes.
But what is Gutenberg for? And how do you get started with it? Well, don’t worry anymore, we’re here to help. There is a bit of a learning curve, but by the end of today’s post, you’ll have a good understanding of Gutenberg and how you can use it to create your WordPress posts and pages.
What is the Gutenberg Editor?
Gutenberg is WordPress’ default block-based content editor and page builder. The Gutenberg editor uses visual content blocks to make creating layouts and content easier. These content blocks include:
- Text Blocks: Paragraph, Heading, List, Quote, Classic, Code, Details, Preformatted, Pullquote, Table, Verse
- Media Blocks: Image, Gallery, Audio, Cover, File, Media & Text, Video
- Embed Blocks: Twitter, YouTube, Vimeo, WordPress, etc (full list of supported embeds)
- Design Blocks: Buttons, Columns, Group, Row, Stack, More, Page Break, Separator, Spacer
- Widget Blocks: Archives, Calendar, Categories List, Custom HTML, Latest Comments, Latest Posts, Page List, RSS, Search, Shortcode, Social Icons, Tag Cloud
Gutenberg can also be used for Full Site Editing (FSE). If you are using a FSE theme then you can use Gutenberg to design any part of your WordPress site, including the header, footer, page templates and more. For FSE you can also use the following blocks when creating template parts:
- Theme Blocks: Navigation, Site Logo, Site Title, Site Tagline, Query Loop, Posts List, Avatar, Post Navigation Link, Next Post, Previous Post, Read More, Comments, Post Comments Form, Post Comment, Login/out, Term Description, Archive Title, Search Results Title, Template Part
And depending on the plugins you have installed and active on your site you may have additional Gutenberg blocks related to those plugins. For example, WooCommerce adds a number of product blocks.
Do I Need to Install Gutenberg?
Since WordPress 5.0 Gutenberg has been built into WordPress core, so there is nothing for you to install. Gutenberg is ready to use as soon as you created your site.
However, if you prefer a traditional WordPress experience, or if your theme is designed to be used with the original WordPress editor, then you can install the free Classic Editor plugin. This will disable Gutenberg and revert your posts and pages back to the classic tinyMCE editor.
What is the Difference Between Gutenberg and the Classic Editor?
As mentioned, Gutenberg is a visual front-end editor. This means you can see rendered versions of your blocks and customizations as you create your posts and pages. So if you insert a 3-column block you will see the columns, or if you customize a heading to use a larger font and red text you will see the styling applied to the heading. A benefit of using Gutenberg is that it is easy to design custom layouts on a per page (or even per post) basis.
The Classic editor is text based, back-end editor. With it you can certainly add and customize content, but you cannot see what your content will look like while you are adding it. For example, if you add a shortcode to display an image slider you will just see the shortcode text in the Classic editor, you will not see the actual images. In addition, the Classic editor do not include options for creating post or page layouts – it really is only for adding content to posts and pages that are styled by your theme. For more advanced options you really need to use a page builder in conjunction with the Classic editor.
In terms of functionality, the Classic Editor and Gutenberg do the same thing; both help you to create content without coding. But Gutenberg ships with more features than the Classic Editor, meaning you can create extraordinary layouts and rich-media content on the fly.
Is Gutenberg Easy to Use?
Yes, Gutenberg is easy to use but like most software there is a learning curve when getting started. For the most part using Gutenberg is intuitive. It is a visual editor, so it’s much easier to see what your content looks like as you create it.
However, within Gutenberg there are many design options. Initially you may not know where to locate specific features or how to utilize settings that are available. In our opinion, if you set aside a bit of time to familiarize yourself with the editor you’ll be a Gutenberg pro in no time. Which brings us to the main focus of this article…
How to use the Gutenberg Block Editor
If you run a WordPress website, you probably create more posts than pages. In the following section, we create a WordPress post in Gutenberg from scratch. I hope you will have as much fun as I did when testing out Gutenberg.
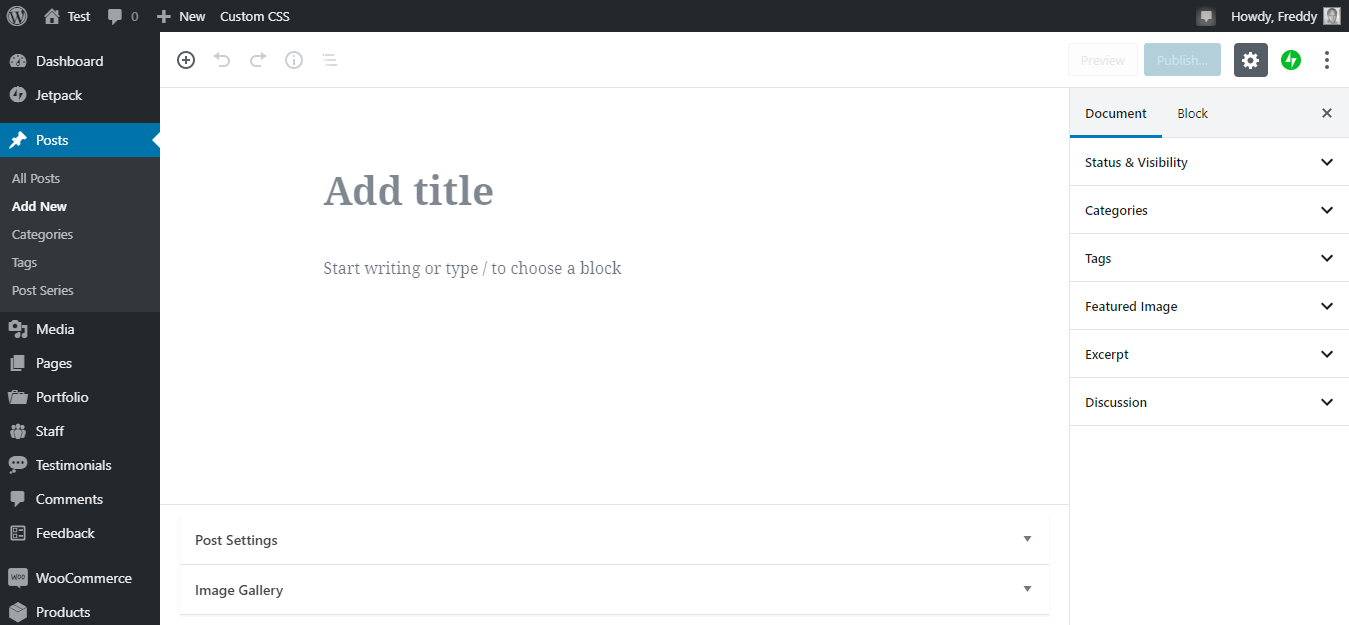
That out of the way, navigate to Posts > Add New as we highlight in the screenshot below.

Doing so leads you straight to the Gutenberg editor shown below.
Pretty neat, huh? Now, let us roll up those sleeves and get down to business.
Adding a Title
You can’t write a post without a solid title. The good thing is Gutenberg makes it incredibly easy to add a title.
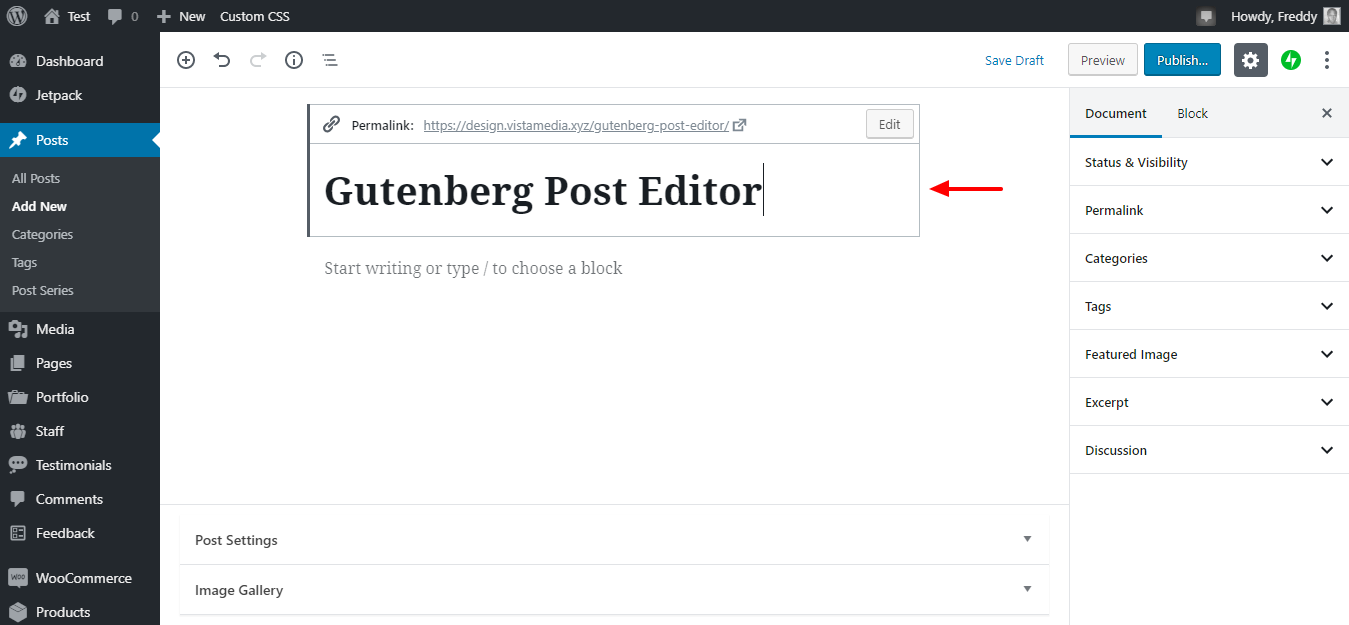
The first block you see is the Title at the top of the document as we detail in the image above. To create a title for your post, type inside the block. Simple as A, B, C.
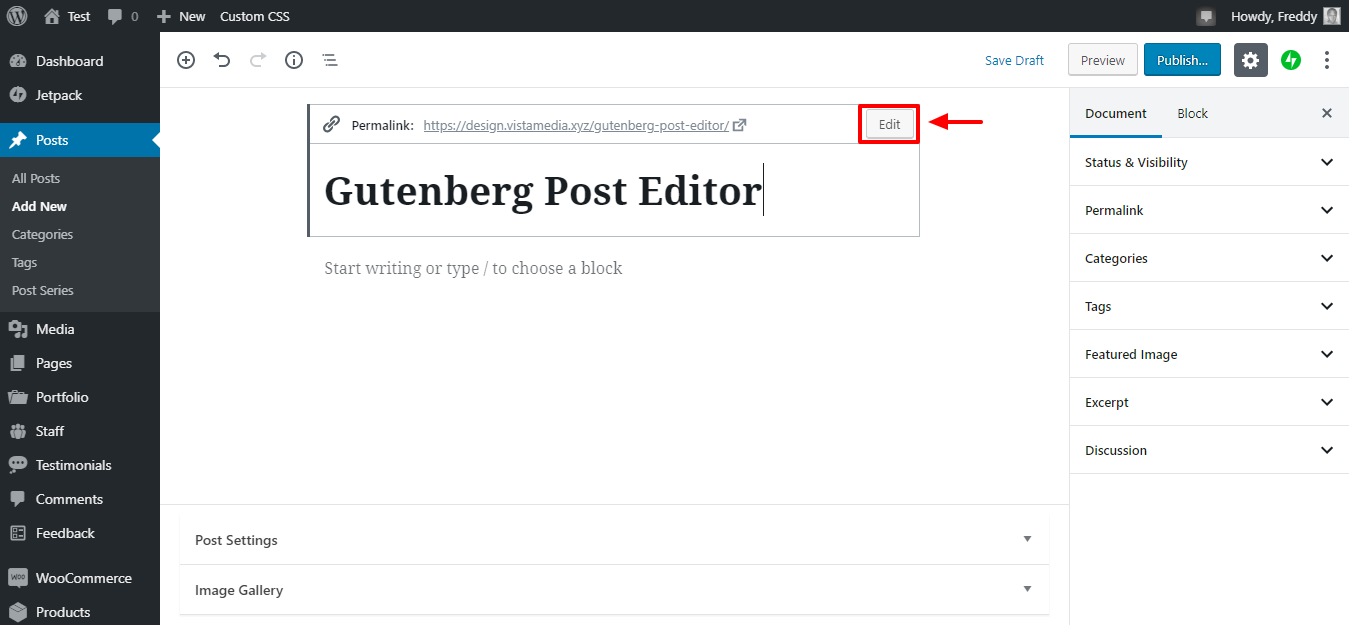
Need to edit the permalink? You can easily do that in the Title block by clicking the Edit button as shown below.
After adding your title, hit the ENTER key to start a new line. Oh yes, Gutenberg preserves the native navigation you loved in the classic WordPress editor.
Adding a New Paragraph

Hitting the ENTER key creates a new Paragraph block, as shown above. Before you type in any text, the block presents you a couple of options. See the numbered image below for more details.
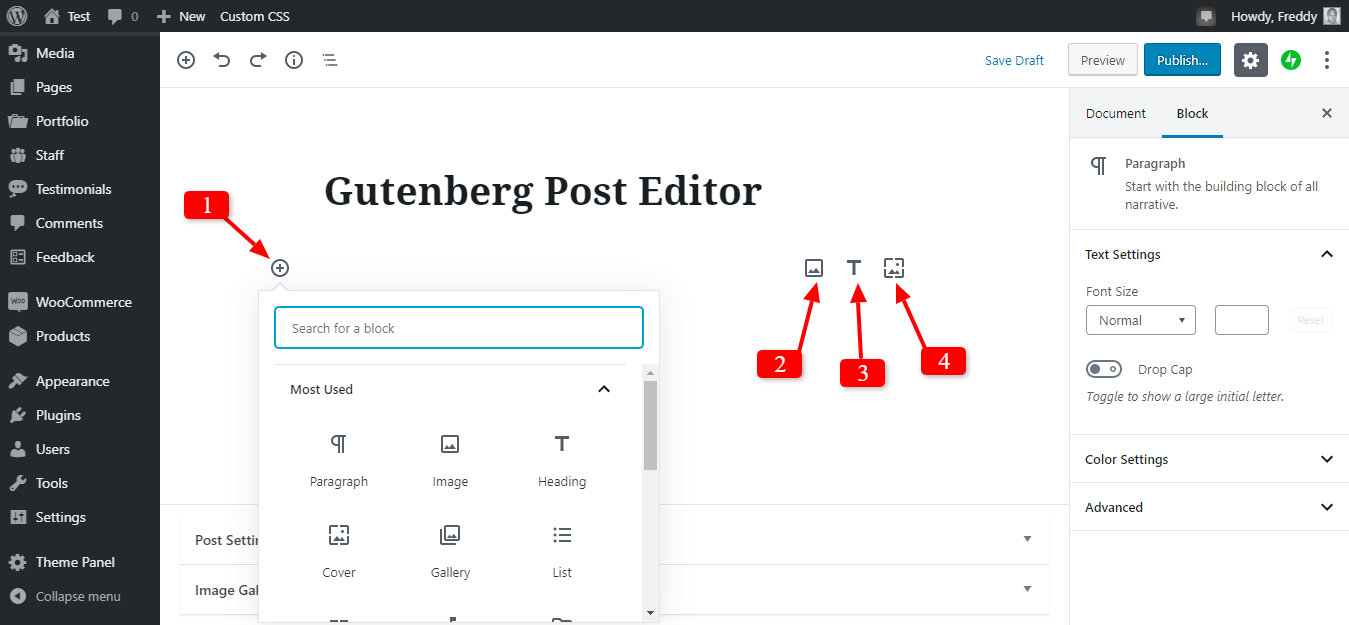
Notes. You can:
- Convert the new paragraph block into any other block, e.g., image, heading, cover, gallery, WooCommerce, form, etc.
- Use the shortcut to change the paragraph block into an image block
- Change the paragraph block into a heading block, i.e., H2, H3, and H4
- Transform the paragraph block into a cover image block
For illustration purposes, I will reserve the first paragraph for the post introduction. Once you add some text, a formatting toolbar appears as shown below.
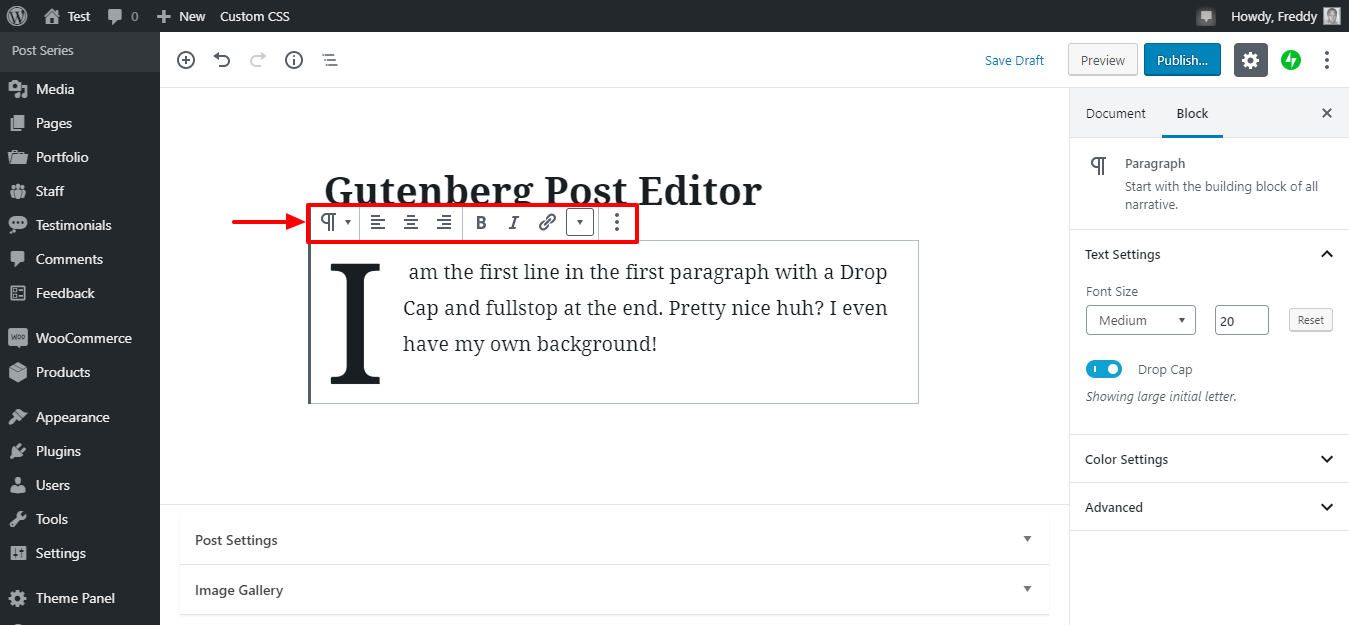
Thanks to the formatting toolbar, you can:
- Covert the paragraph into a verse, quote, heading, list, code, and preformatted text
- Bold, Italicize,
strikethrough, and underline content - Align text left, right, center and justify
- Add a link that can also open in a new tab
- Insert an inline image (yes, it exists!)
- Hide block settings
- Duplicate the block
- Insert a block before or after the current block (in our case, that’s the first paragraph, so were are not adding anything before, only after.) You can add a cover image block before the first paragraph if you so wish because it looks so good
- Edit the block as HTML
- Add the current block to reusable blocks so you can use it in other posts
- Remove the block entirely
You can further customize the paragraph block with the options available in the Block tab found in the sidebar menu as shown below.
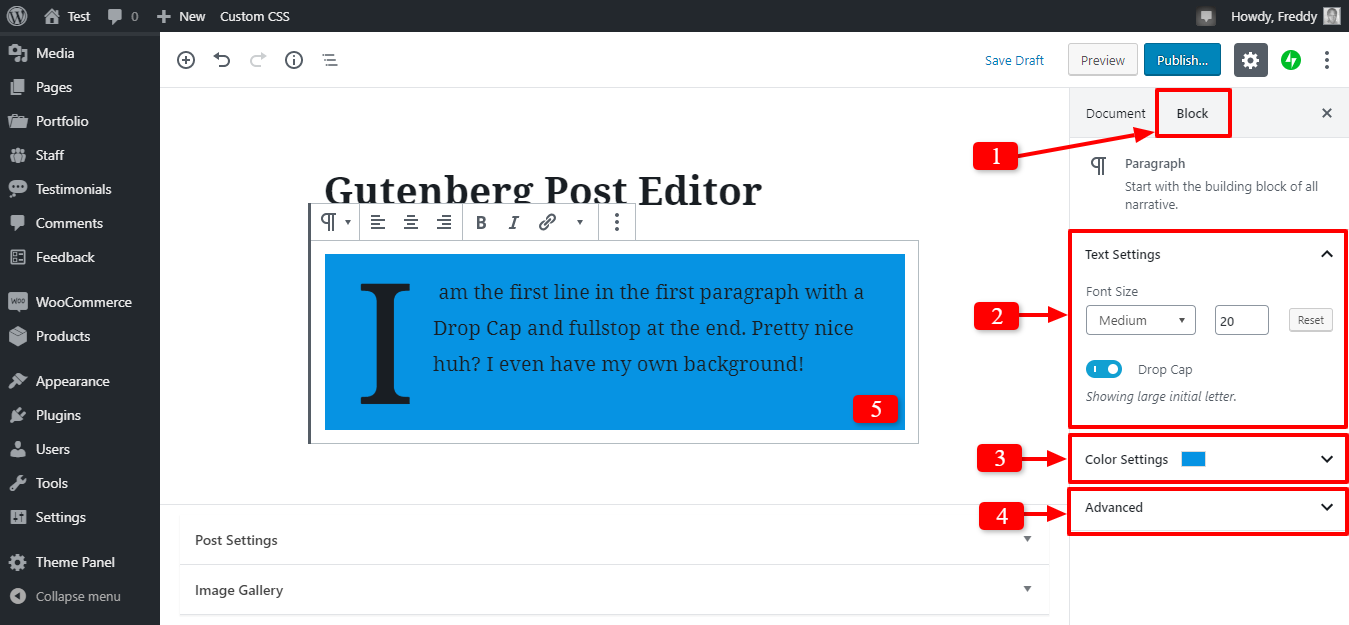
A few notes about the above image:
- Choose the Block tab here to view all block options and settings
- Select the font size and activate Drop Cap here
- Add background color to your paragraph. I set it to blue for illustration purposes. You can also customize the text color. In both instances, you can add unlimited custom colors
- You can add a custom CSS class here, meaning you can add additional CSS styles to your block
- The blue background and Drop Cap already applied in the Gutenberg editor
The Document Tab in the Sidebar
There is another tab in the sidebar menu; the Document tab as shown below.
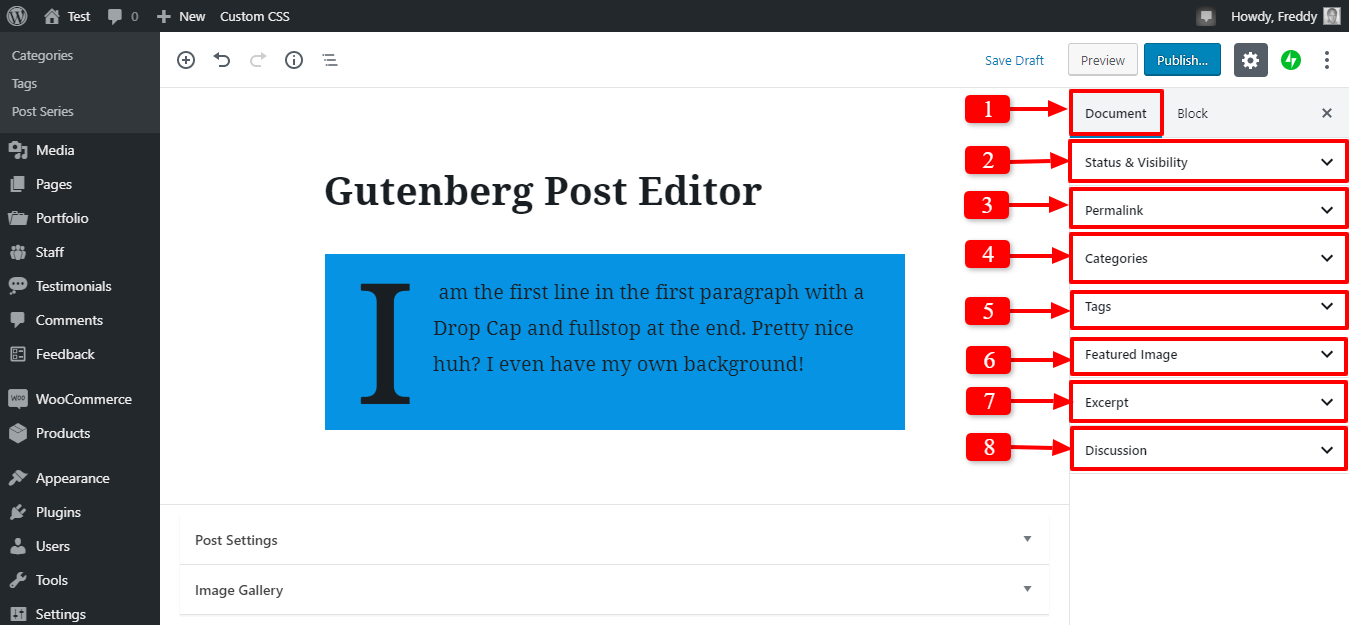
Here, the notes for the above image:
- Click here to toggle to the Document tab
- Here you can schedule a post, set visibility to either Private or Public, set a post to Pending Review status, choose the post format and create a sticky post
- The section allows you to edit your permalink
- You can select or create new categories here
- Add tags to your post
- Set featured image
- Create a manual excerpt
- Allow comments, pingbacks, and trackbacks
As you can see, you have plenty of options to design a paragraph block (and the whole post) whichever way you desire. By the way, different blocks come with different settings as we’ll learn in a minute.
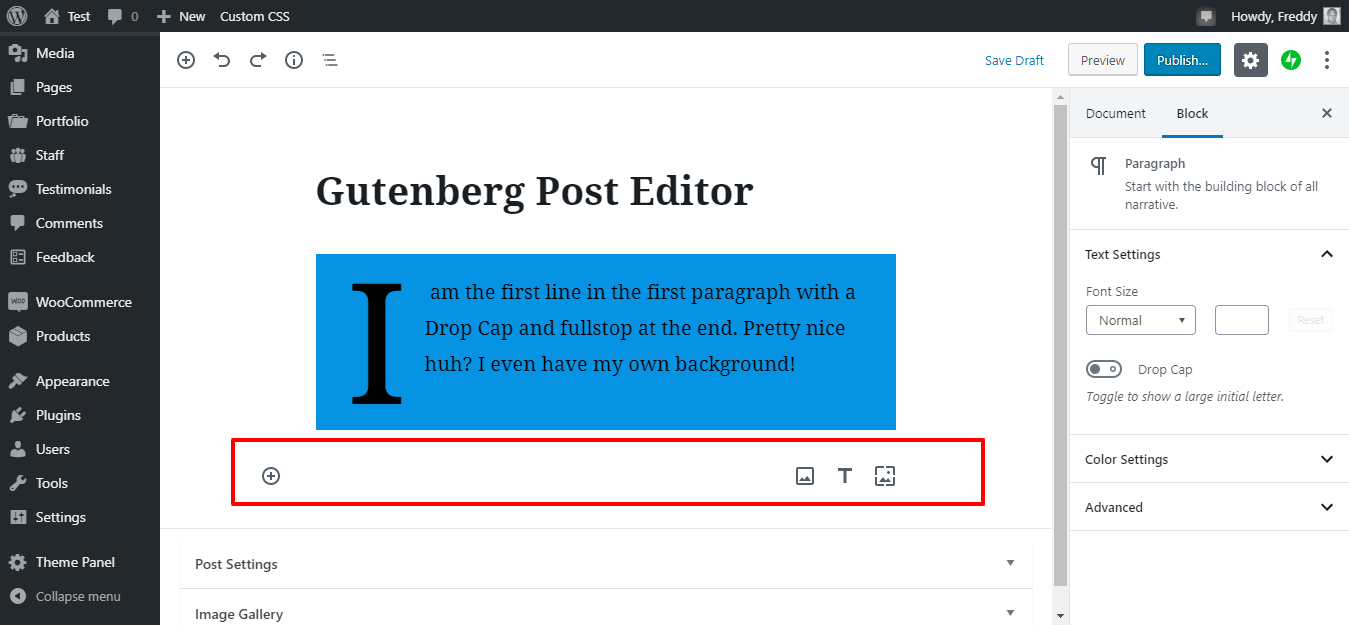
After the first paragraph, hit the ENTER key again to create a new line (or paragraph block). Now, let us add an image below the first paragraph.
Adding Images in Gutenberg
They say a picture speaks a thousand words, and a blog post without images is, well, drab. To add an image in your WordPress post using Gutenberg, you have a couple of options.
When you hit the ENTER key a few moments ago, you triggered a new paragraph block. Seeing as Gutenberg is intuitive, you can add an image by clicking the plus (+), image or cover icons as we highlight in the image below.
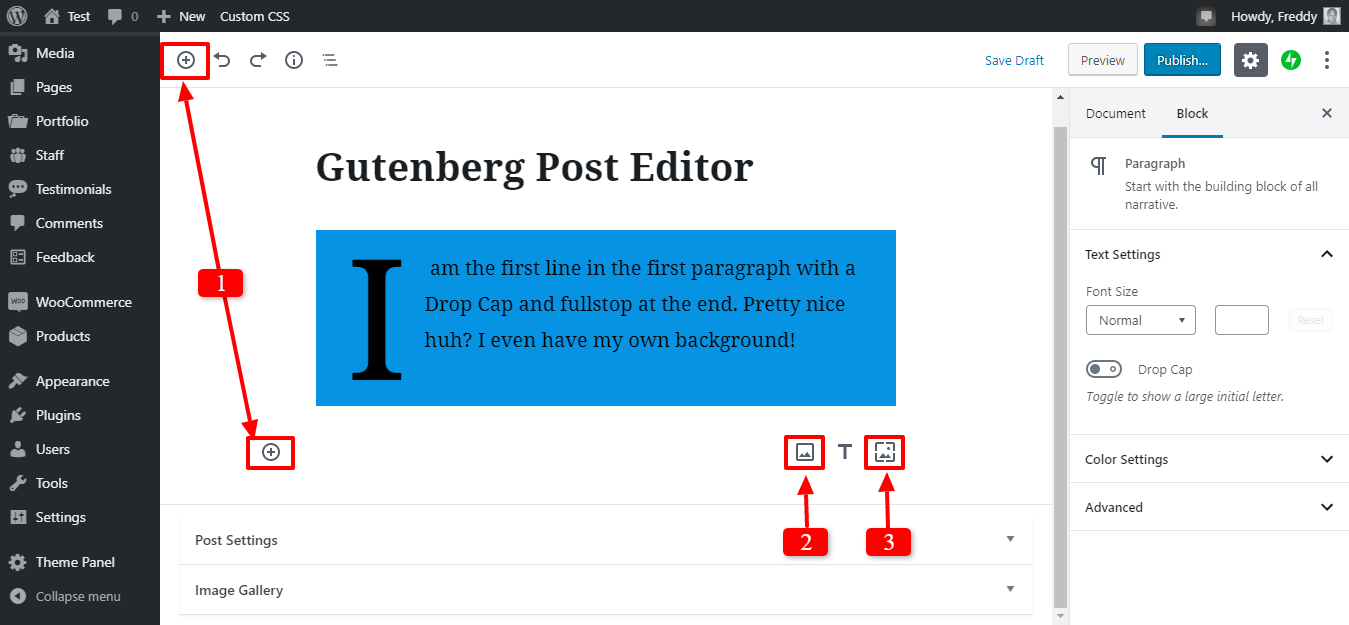
A couple of notes:
- You can add an image via the plus (+) icons
- Here, you can add an image easily
- This option allows you to add a cover image (These are usually bigger than other photos. Plus, you can add text on cover images, BTW)
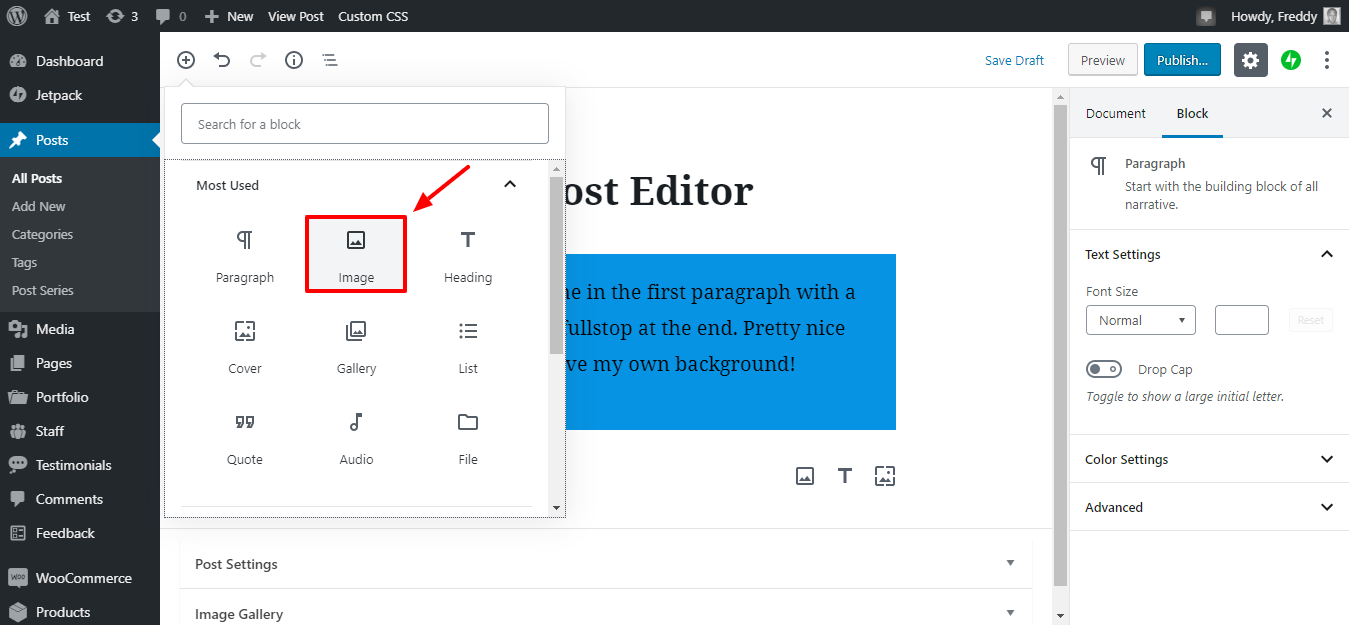
Go ahead and click any of the plus (+) icons. Next, click the Image tab, as shown below.
Clicking the Image tab loads the Image block shown in the screenshot below.
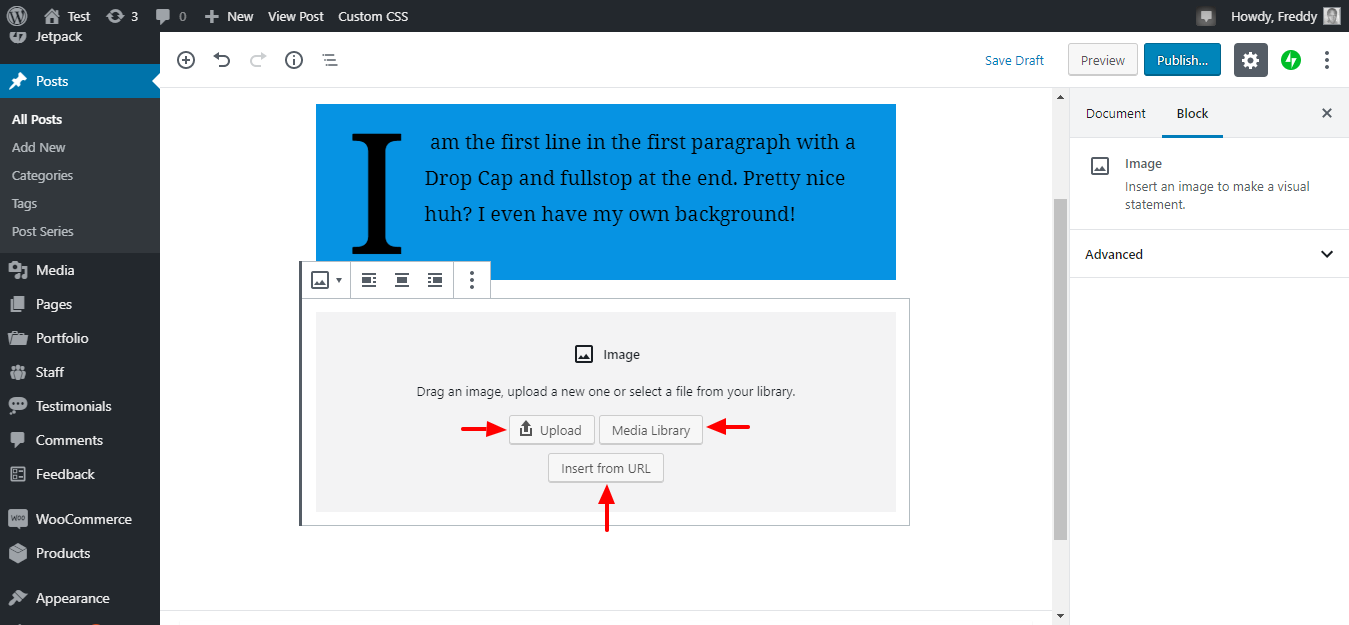
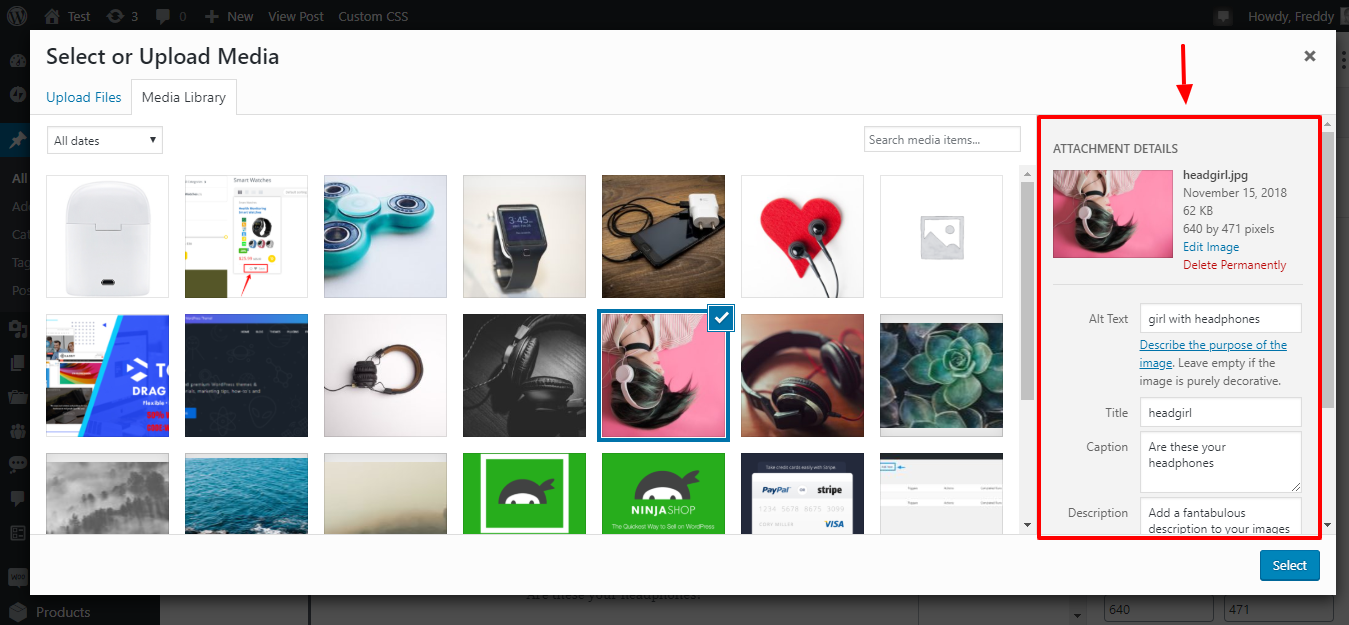
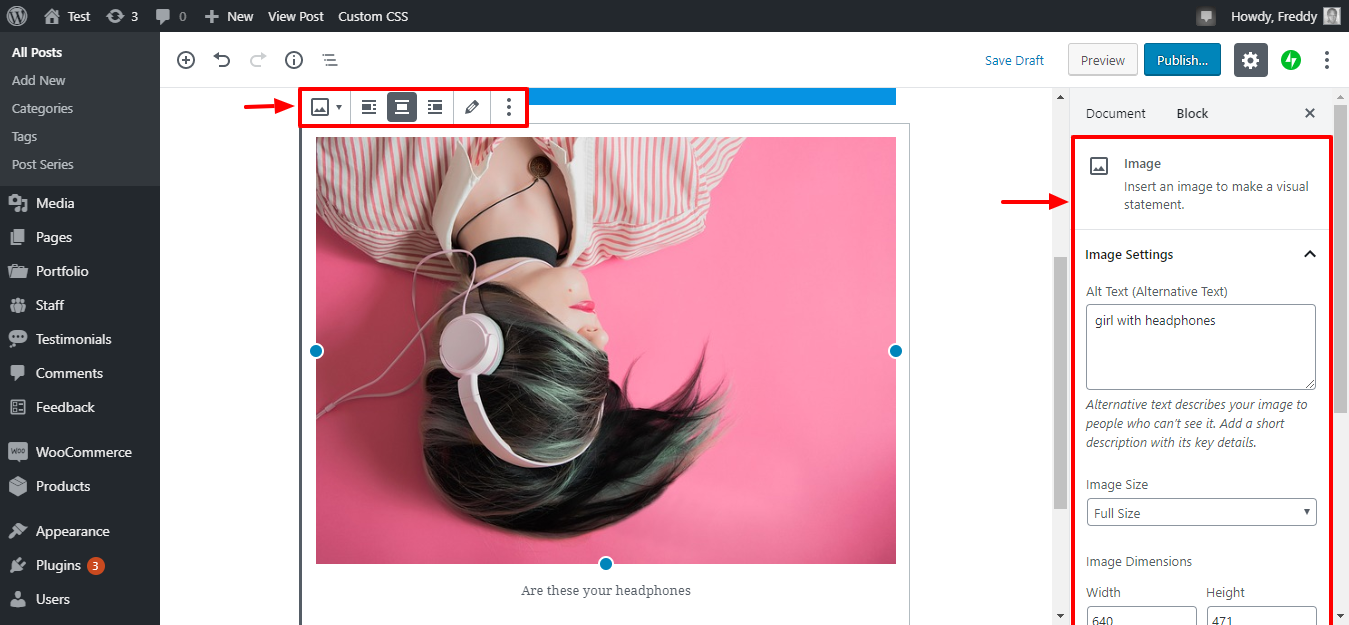
The Image block allows you to upload an image or add one from a URL or the media library. In the process, you can add alt text (important for SEO), caption, and description via the media screen settings, or the Block sidebar as shown in the following images.
The usual media settings…
…and the Image block settings.
Are you learning something here today? I hope so. Let’s move on.
After adding your image, Gutenberg adds a new paragraph block just below it. You can add whatever you want, but for illustration purposes, I added some text and then a button below that.
How to Add Downloadable Files, e.g. PDF, Images, Videos, etc
Gutenberg makes it incredibly easy to add downloadable files to your WordPress post or page.
In a new Paragraph block, click the plus (+) icon, navigate to Common Blocks and hit the File tab as we highlight below.

Doing so launches the following block:
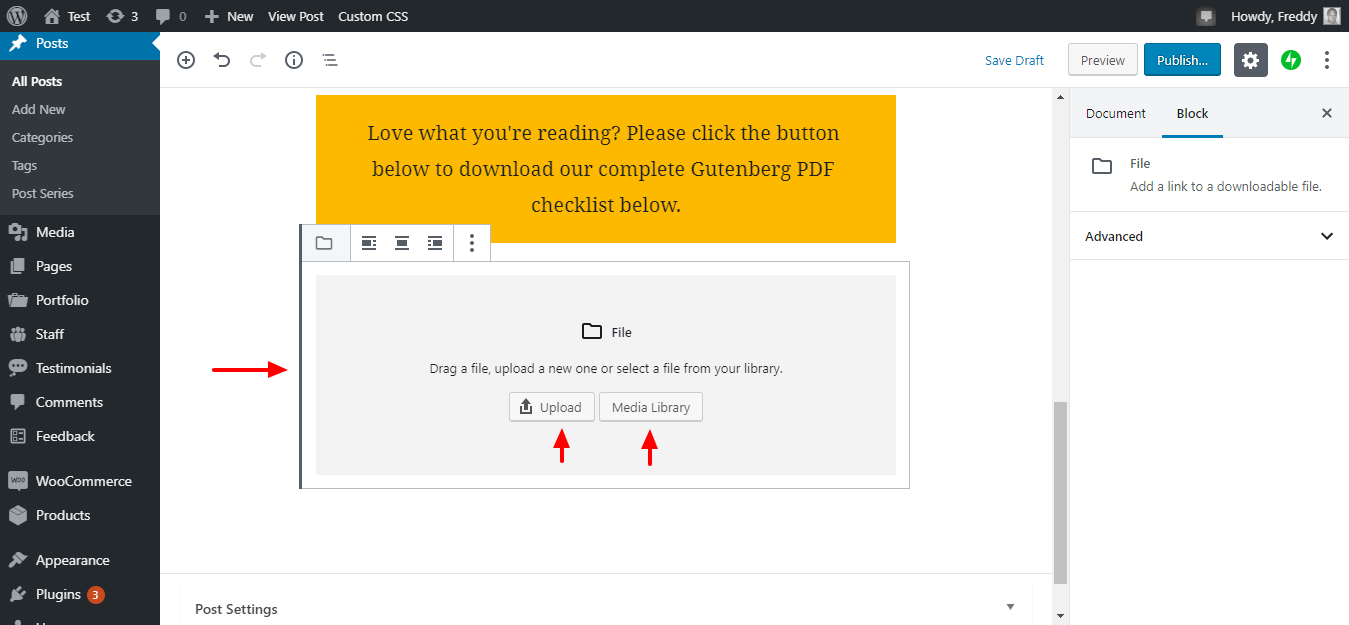
From the File block, you can upload a new file or add one from your media library. After adding your file, Gutenberg adds a cute Download button automatically as seen in the image below.
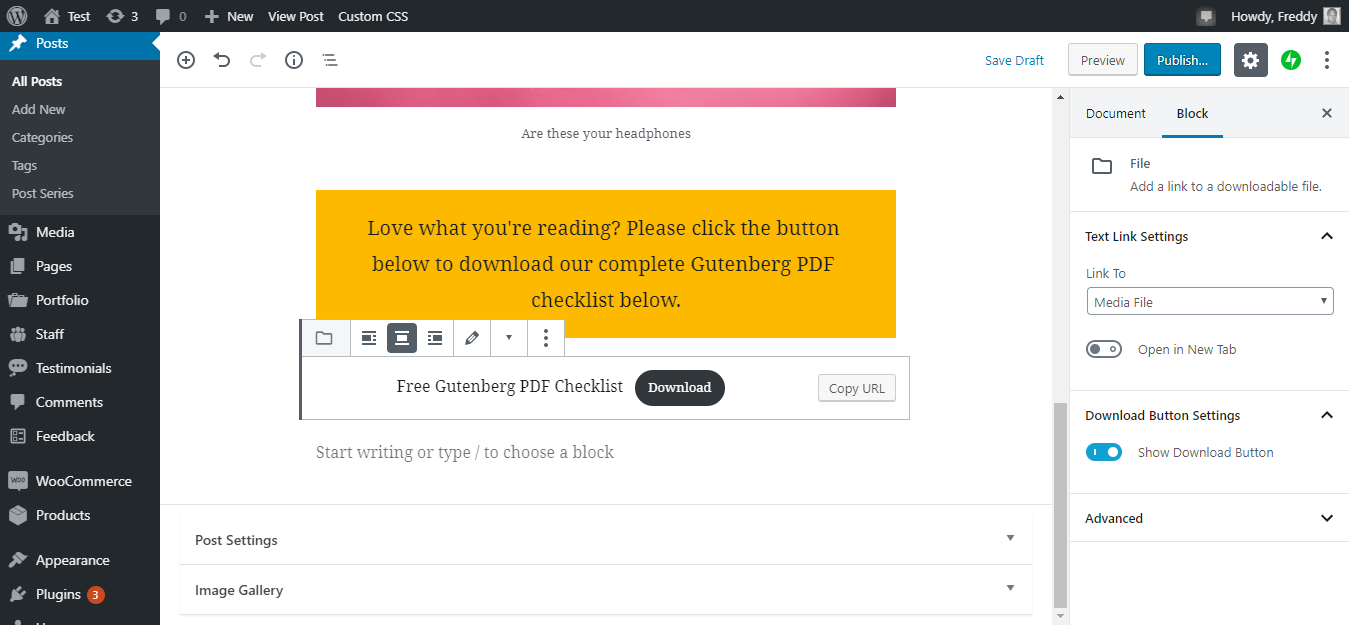
You can play around with the options. For instance, you can edit/delete the “Free Gutenberg PDF Checklist” title as well as the Download button. You can add a CSS class to the block and style it whichever way you desire.
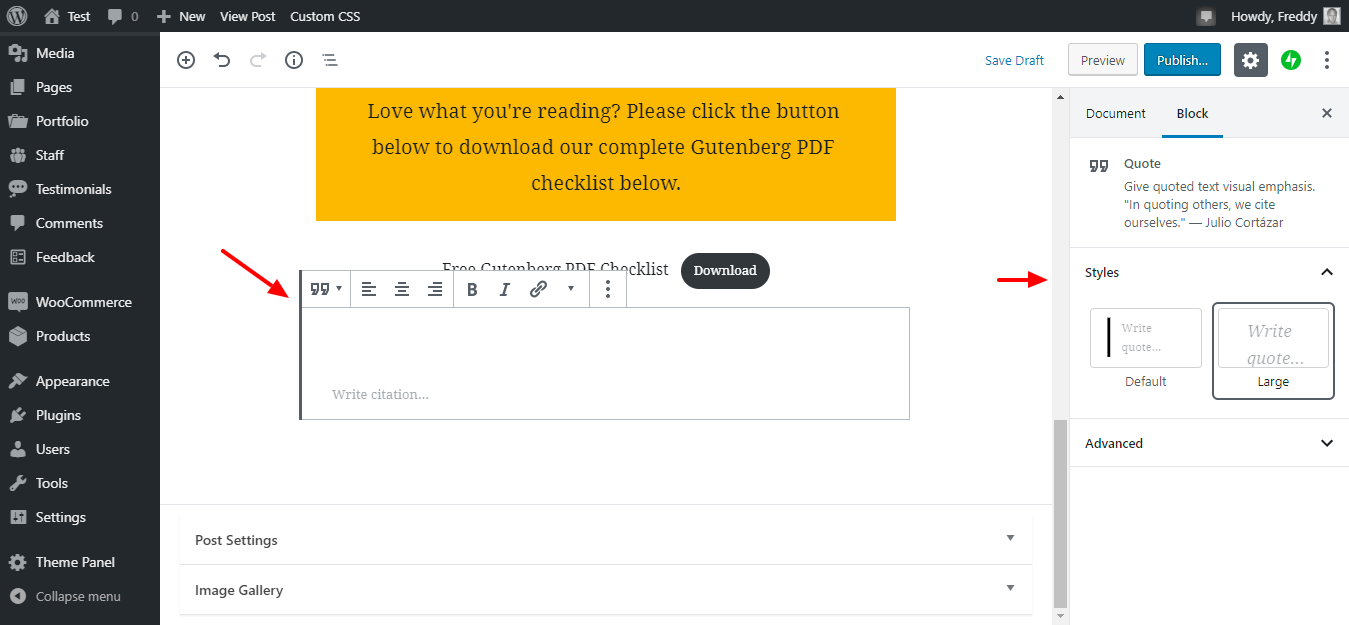
Adding a Quote in Gutenberg
Next, let’s add a quote because they are charming, catchy, and help you to drive the point home. In a new line, click the plus (+) sign, navigate to Common Blocks and hit the Quote tab as shown below.
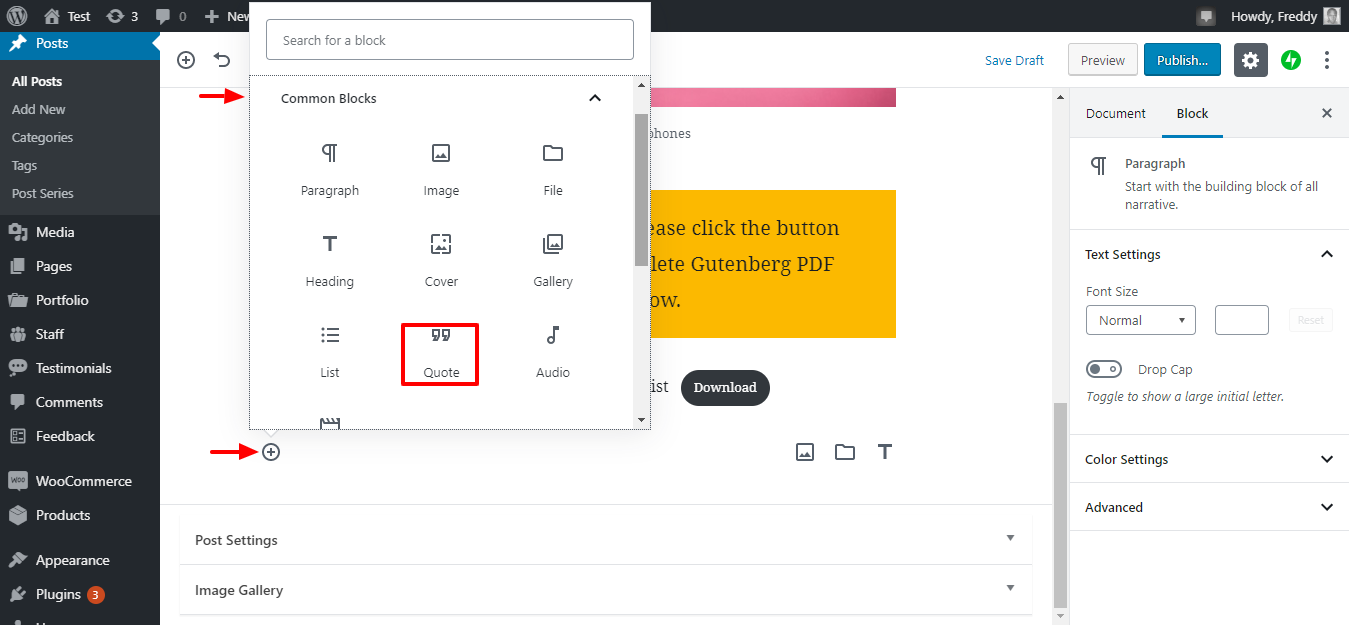
Doing so adds the Quote block in your post as we highlight in the screengrab below.
Notice the quote block settings in the right sidebar above?
To add your quote, type inside the block. Here’s my result.
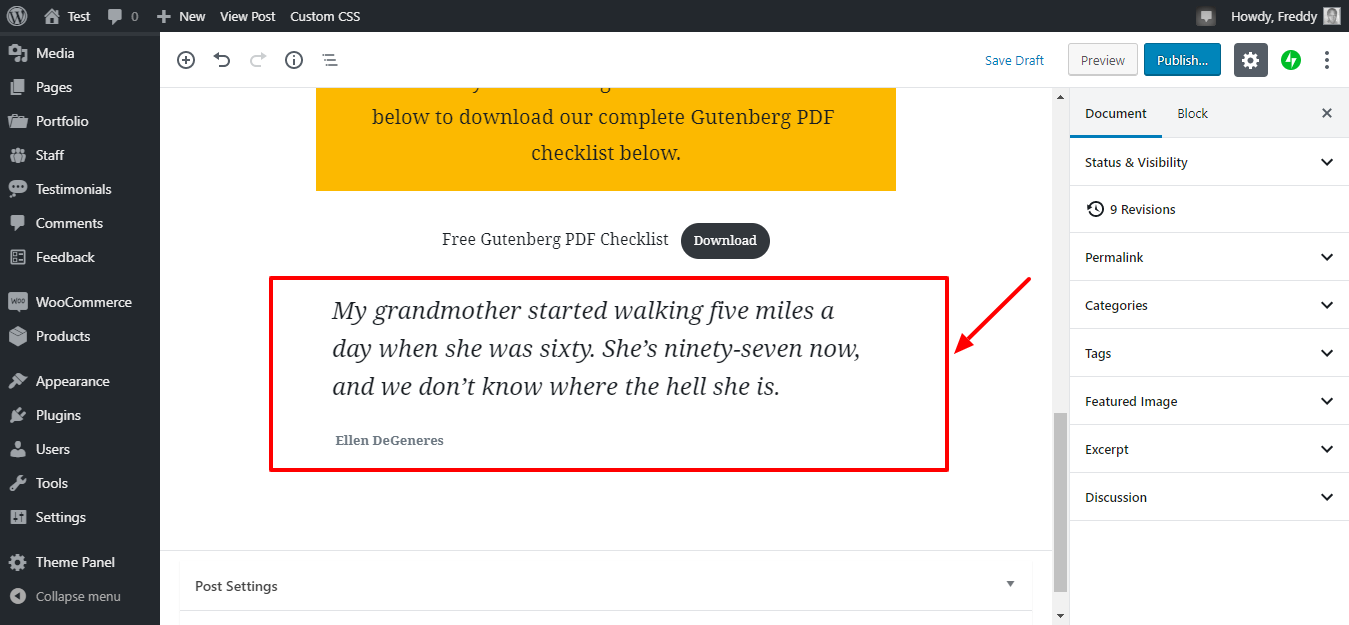
Looks incredible, right?
Adding Media Embeds in Gutenberg
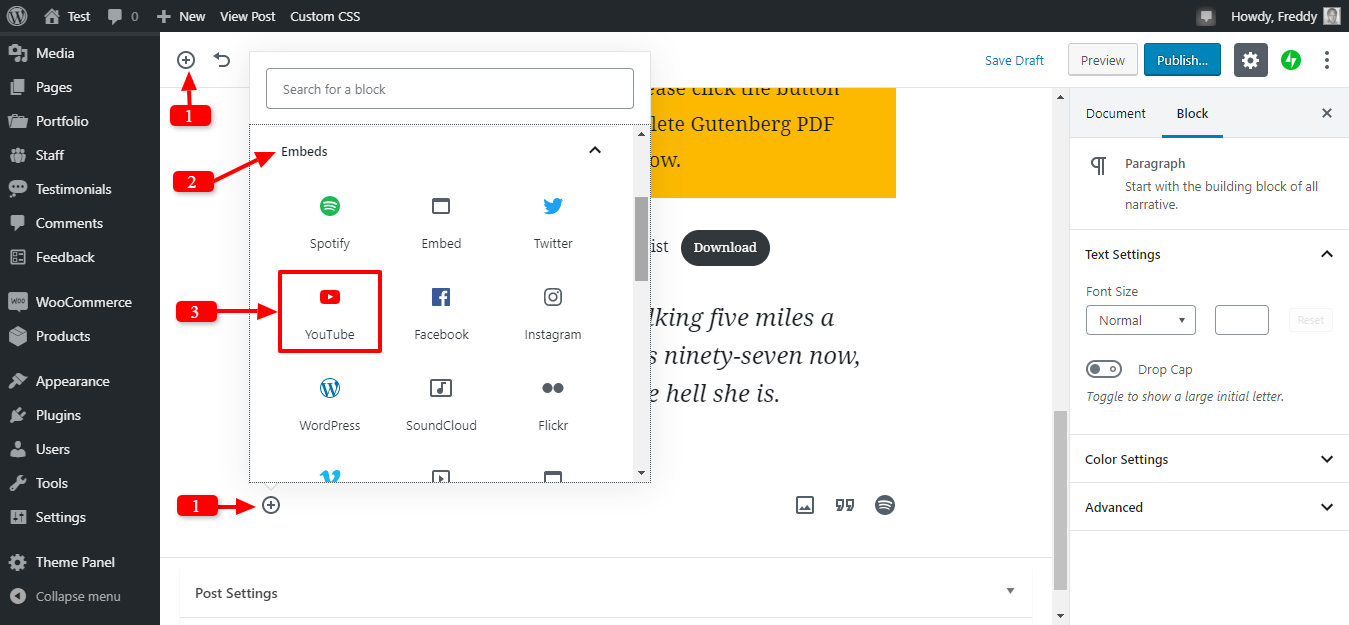
Gutenberg comes with several blocks to embed videos and other media from 30+ sites such as YouTube, Vimeo, Facebook, SoundCloud, WordPress, Slideshare, and so on.
To embed content, click the plus (+) icon, navigate to Embeds, and choose the site. For instance, I wanted YouTube, as shown below.
Next, copy-paste the YouTube video URL and click the Embed button as shown in the image below.
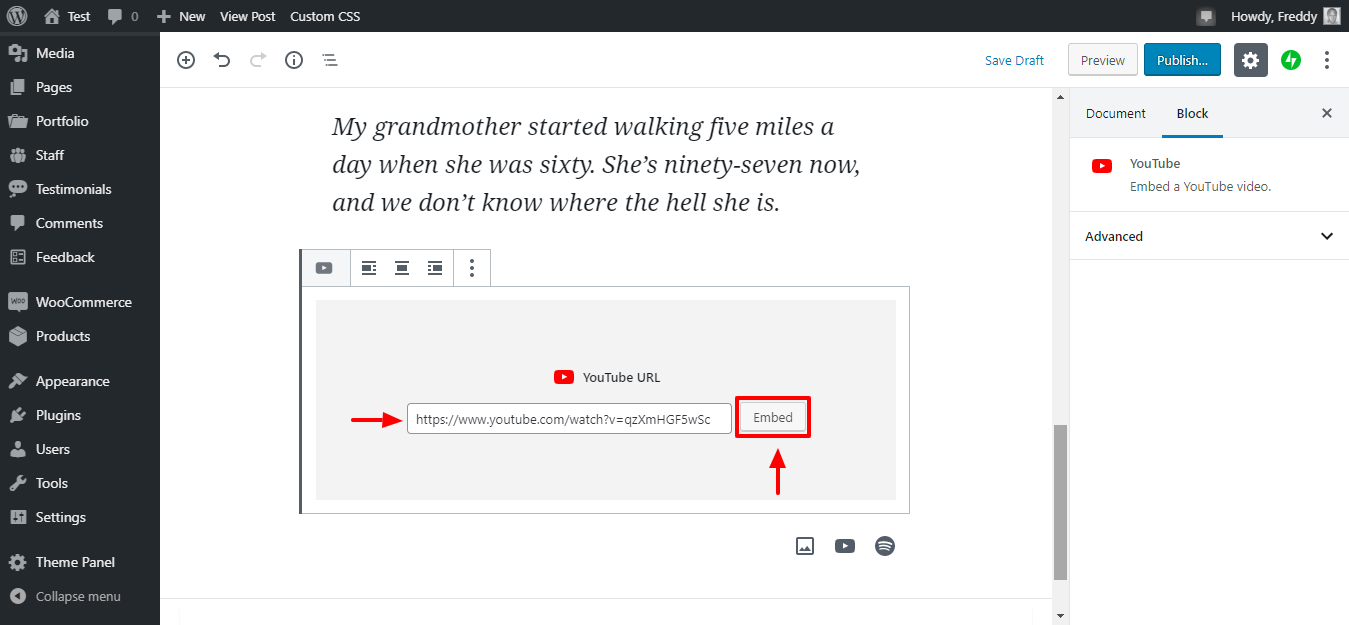
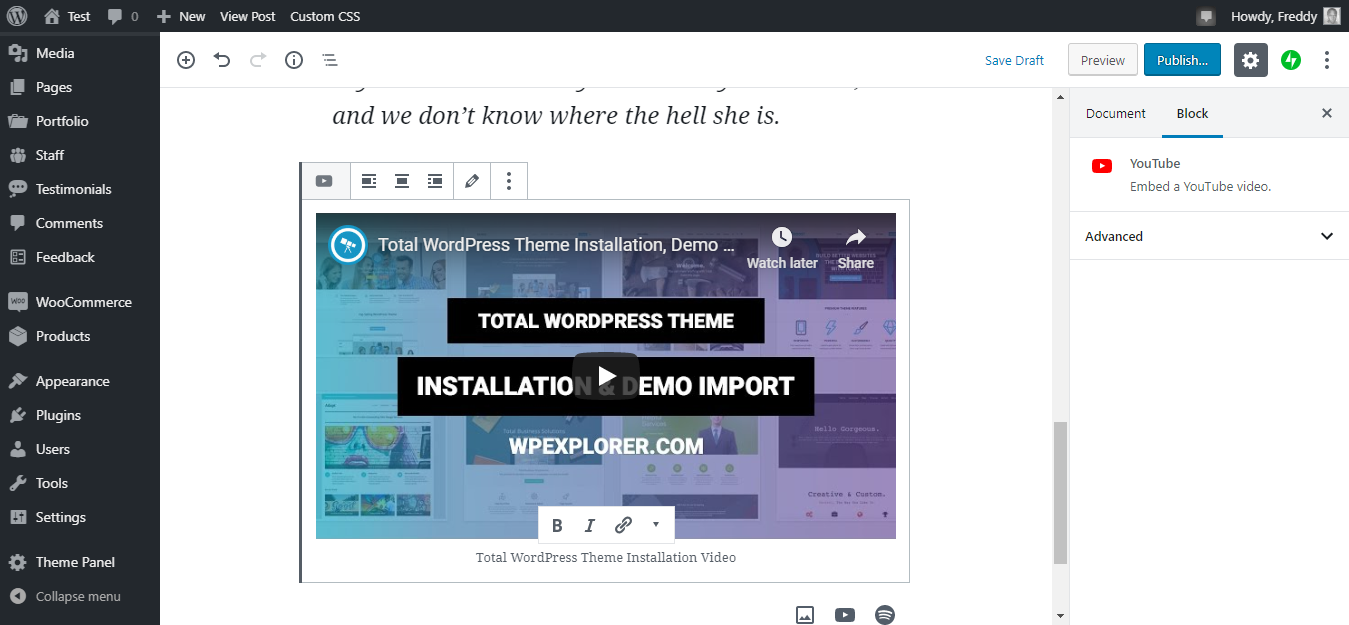
As soon as you hit the Embed button, Gutenberg coverts the link into a video automatically as we highlight below.
Smooth sailing all the way. Now, let us add a standalone button that’s perfect for creating a call to action (CTA).
How to Add A Button in Gutenberg
You shouldn’t have a hard time adding blocks at this point. Just click the plus (+), and choose your block. It can’t get any easier than that.
So, how do we add a button?
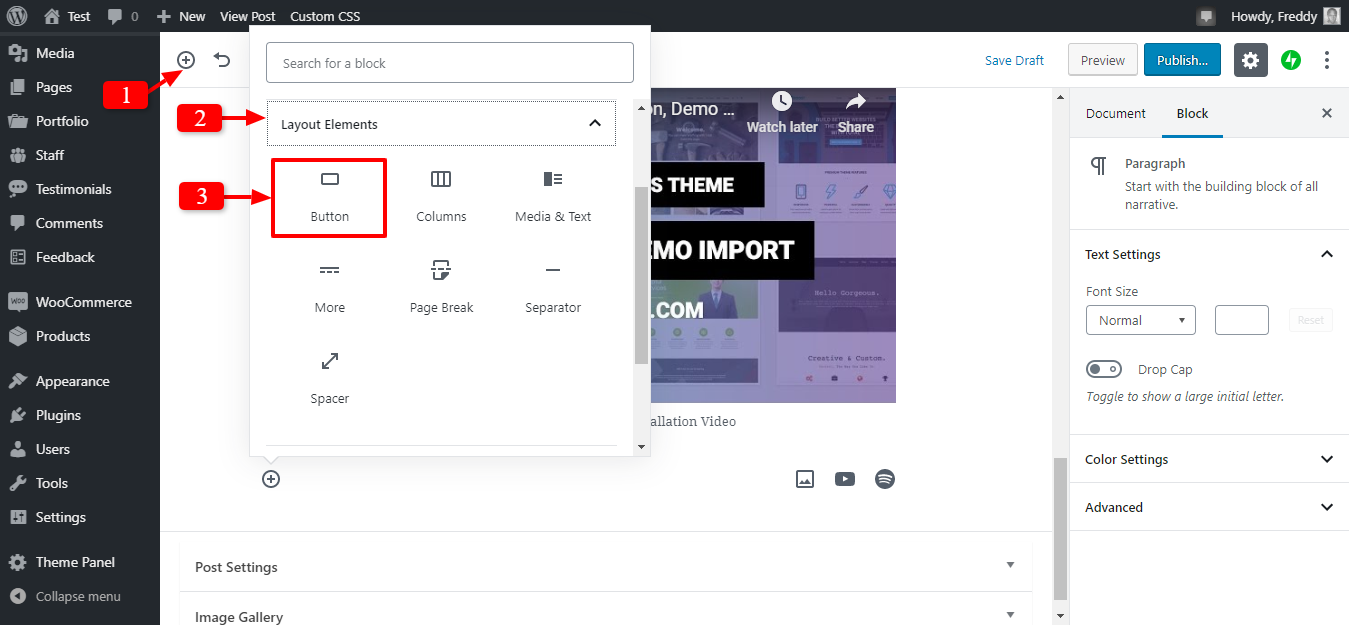
In a new line (or block), click the plus (+) icon, navigate to Layout Elements and click the Button tab as shown below.
Doing so leads you to the Button block as we detail below.
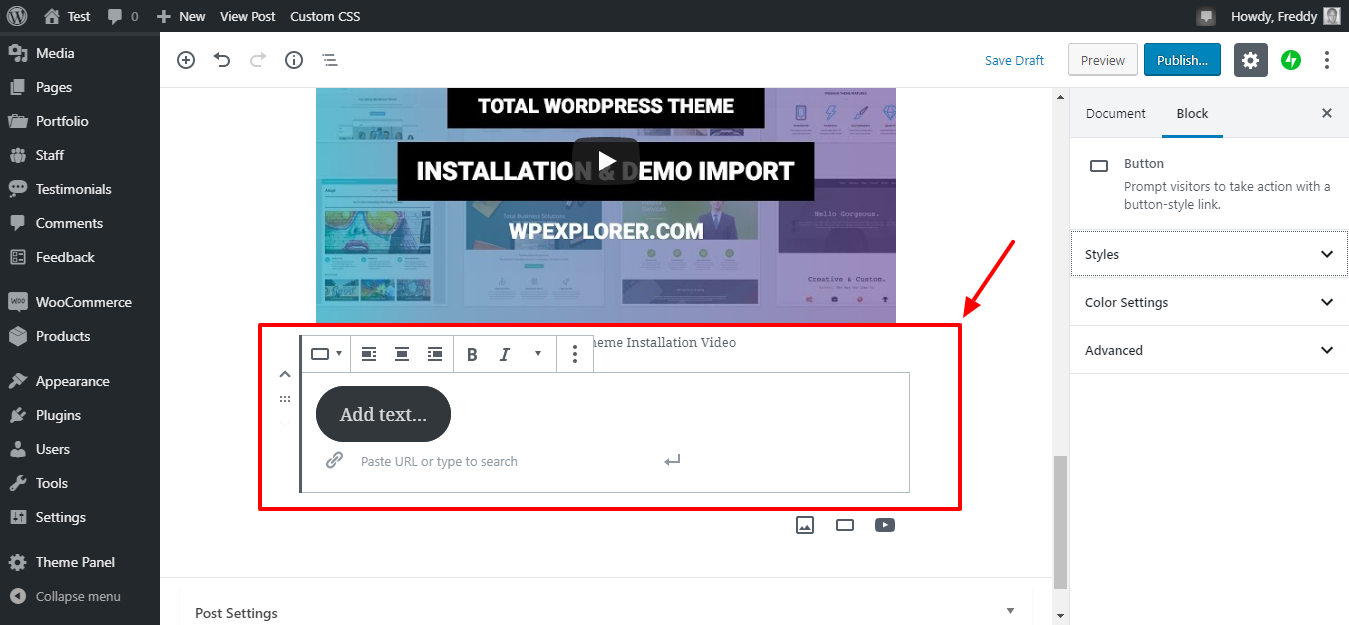
As you can see from the image above, you can edit the button text and add a link. Additionally, you can customize the button via the sidebar menu to the right of the screen.
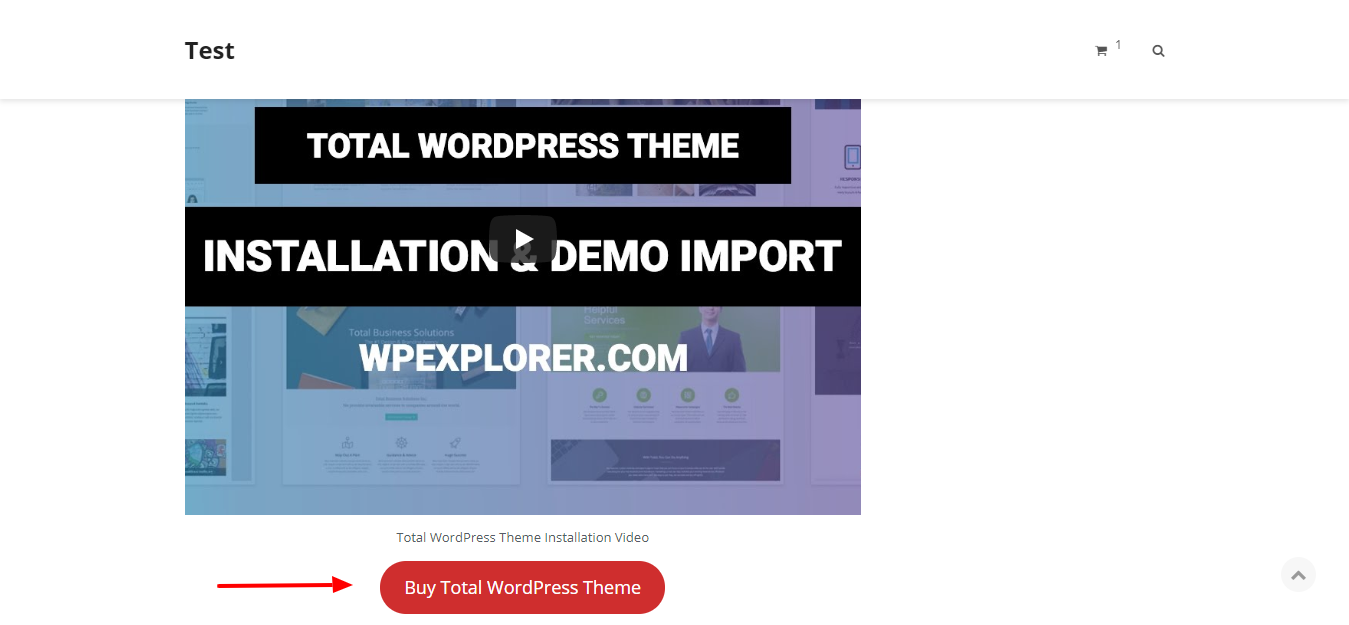
After a couple of clicks, here is what I got.
By the way, if you use hard-to-read color combinations on your buttons, Gutenberg will promptly let you know. How nice?
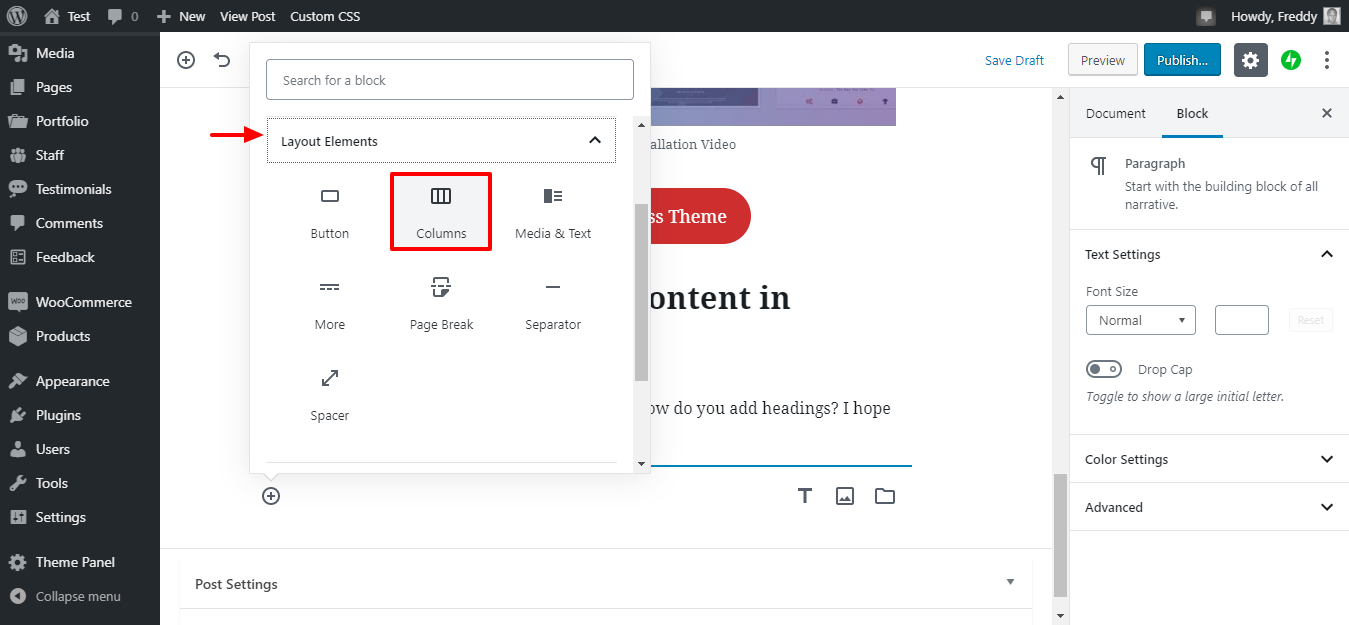
How to Add Columns in Gutenberg
With a beautiful button in place, let’s add some columns. I will add two columns, so follow carefully.
Here’s what to do. Click the plus (+) icon, navigate to Layout Elements and click the Columns tab as seen in the image below.
Gutenberg adds two columns by default. See the image below, and remember, I have added content into the columns already.
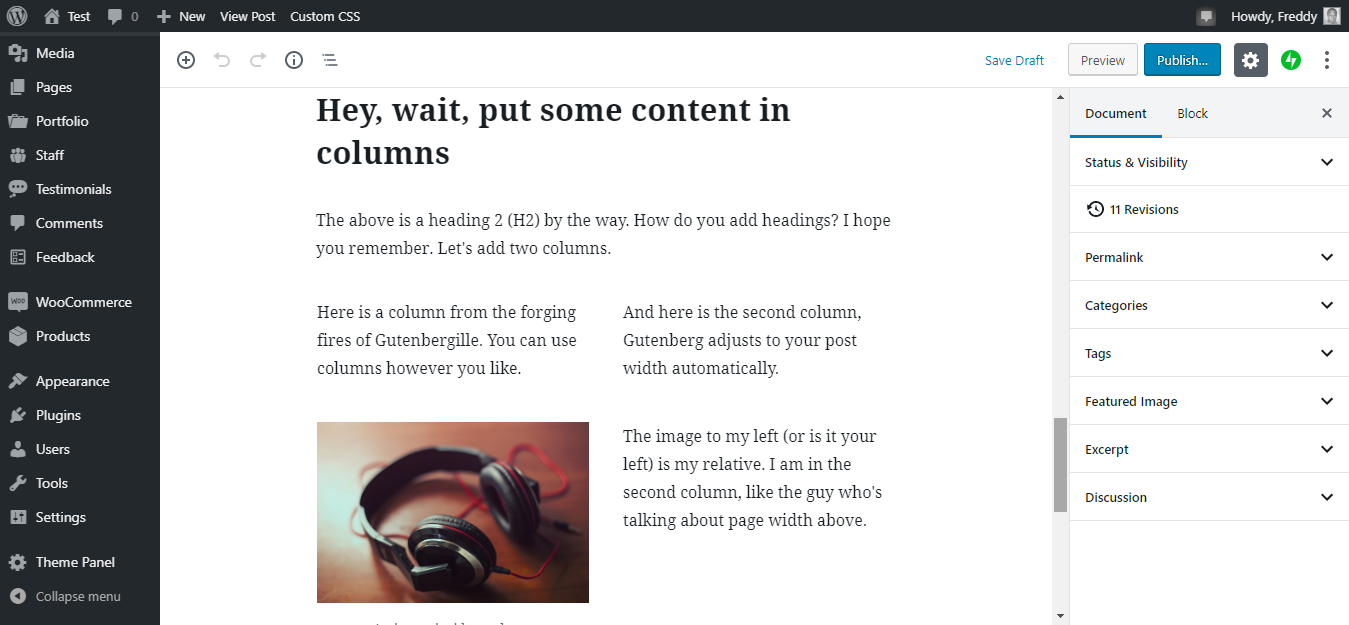
Which gets me:
Not bad for a few seconds of work. But perhaps you don’t wish to create columns. Maybe you want to display an image next to some text.
Is there a block for that? Yes, there is!
How to Add an Image Next to Text in Gutenberg
Are you looking to add an image next to some text? If so, you will love the following section.
As usual, click the plus (+) icon, navigate to Layout Elements and click Media & Text as shown below.
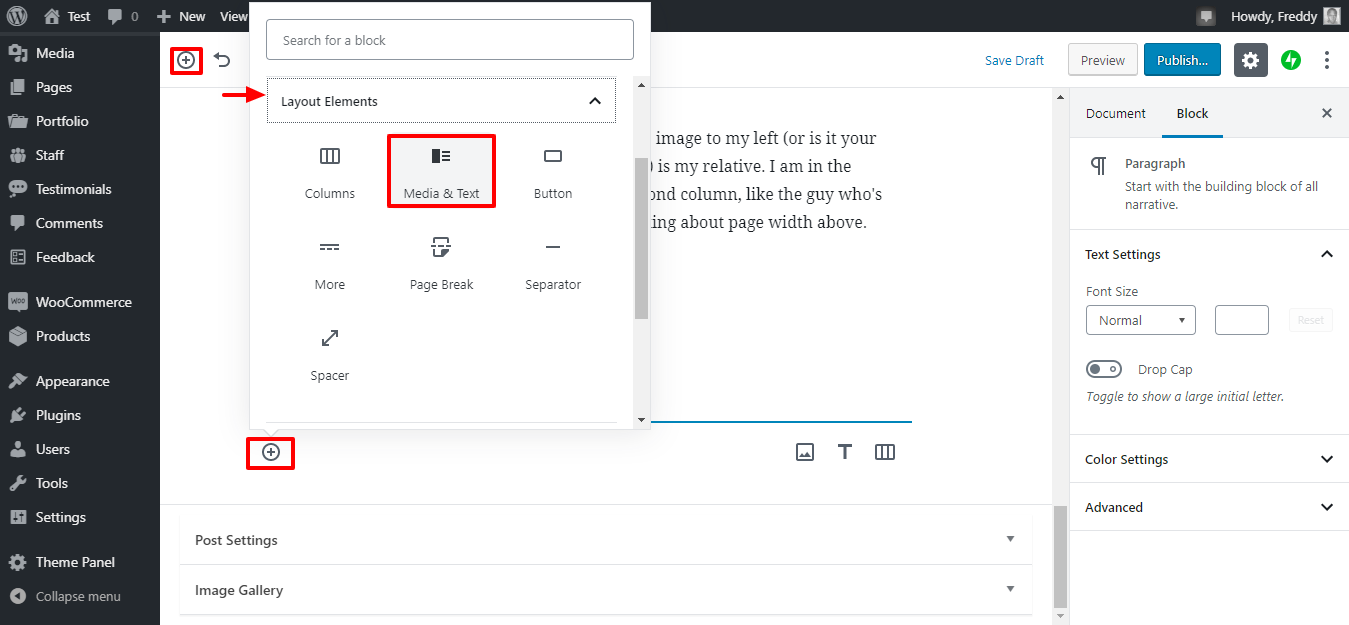
You should see the Media & Text block, as shown below.
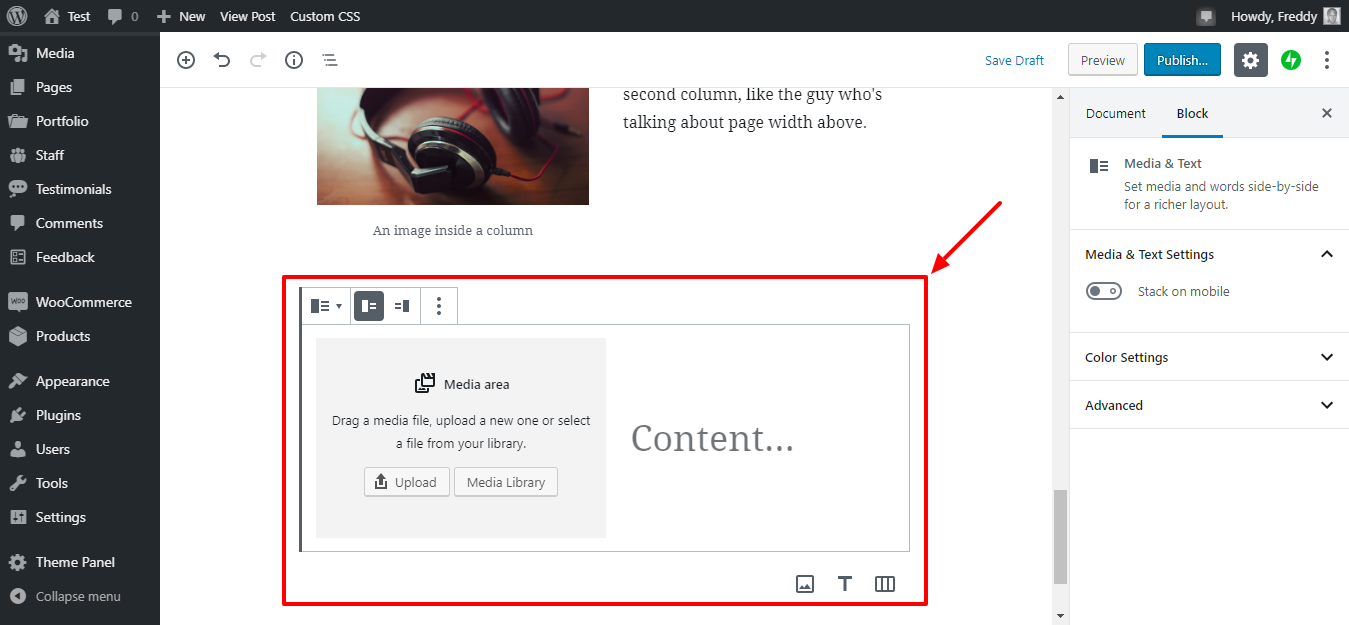
Next, upload your image/video/media or add one from the media library. After that, add your text next to the media, as shown in the image below.
I played around with the Media & Text block, and I came up with the following. Mind you; I managed to squeeze a button in there too 🙂
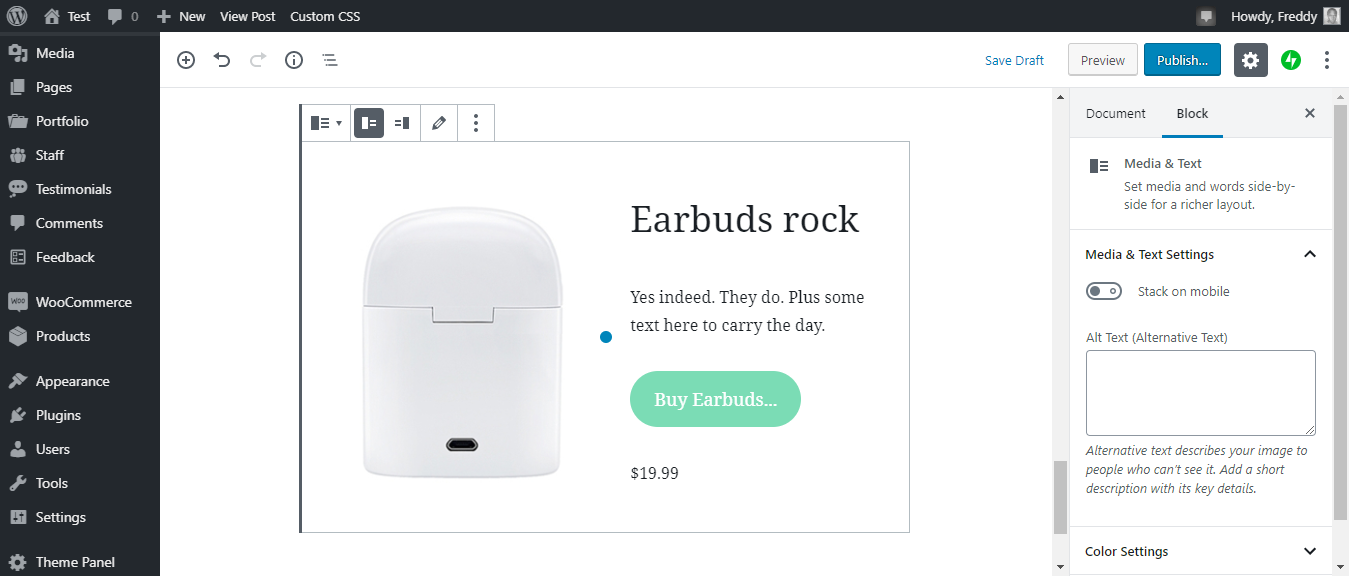
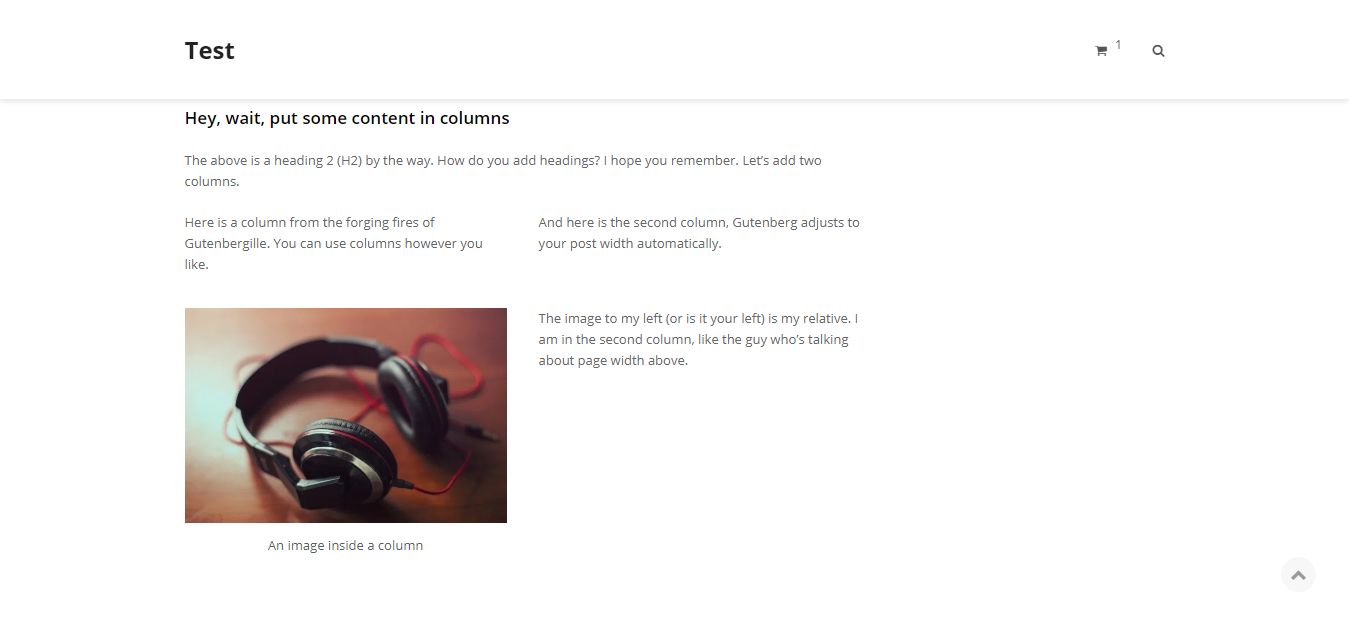
Oh, that’s the back-end! Let me show you the front-end. Here:

Looks very professional, right? You can certainly imagine how much you can achieve with the Gutenberg editor.
Third-Party Gutenberg Blocks
WordPress developers are keen on making themes and plugins compatible with the Gutenberg editor. A few examples include WooCommerce, Jetpack, and Yoast SEO.
For instance, you can add WooCommerce blocks into your WordPress post. Firstly, you must install and activate WooCommerce.
Next, in a new line, click the plus (+) icon, navigate to WooCommerce and choose whichever block you desire as shown below.
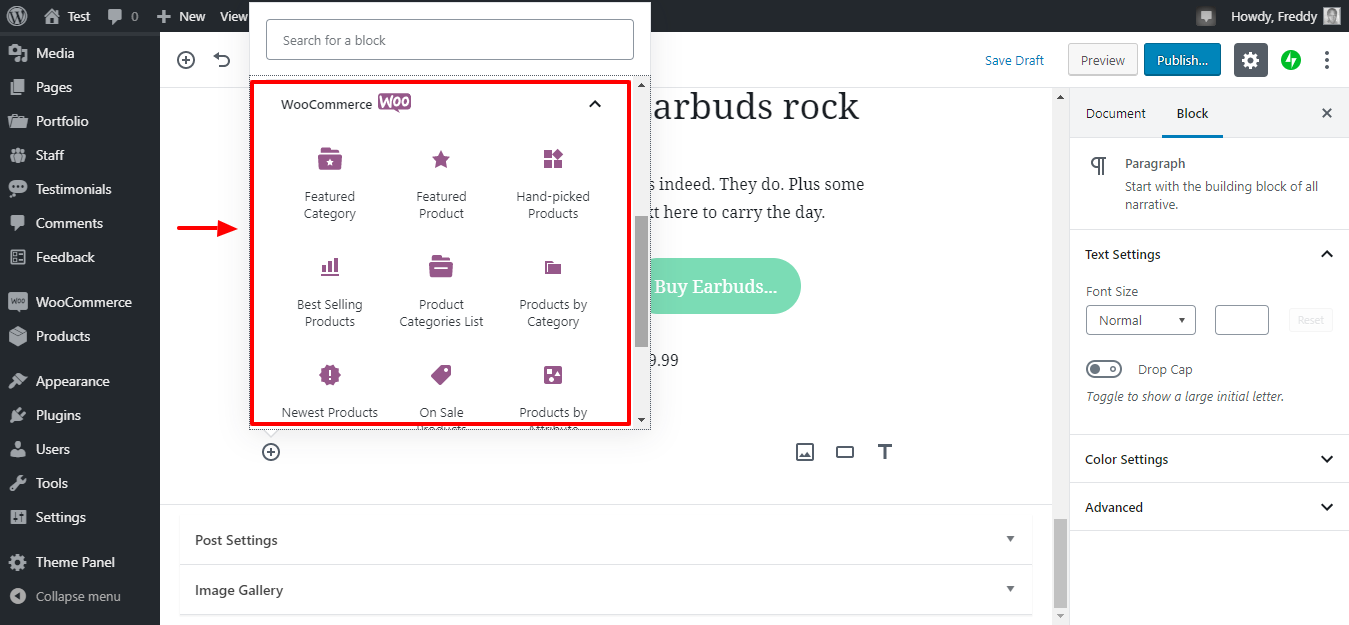
Do you know what this means? It means you can create rich-media and great posts and pages in a matter of minutes.
Other Notable Blocks
We are at over 2,000 words already, and if we keep this up, we will end up writing a whole eBook. My prayer is you can now use Gutenberg without any hiccups.
That out of the way, here is a list of the other available blocks.
- Widgets – You can add content from your widgets into blog posts
- Shortcodes – You can still use native WordPress shortcodes
- Classic – A great block that holds your old content
- More – The block was formerly known as the Read More tag
- Page Break, Separators, Spacers
- Custom HTML, Pullquote, Table
- Gallery and HTML5 audio/video
- And so much more depending on the themes and plugins you use
Aside: Creating a WordPress page is similar to creating a post save for a few minute differences, so we won’t delve into that today.
Quick Gutenberg Hacks & Keyboard Shortcuts
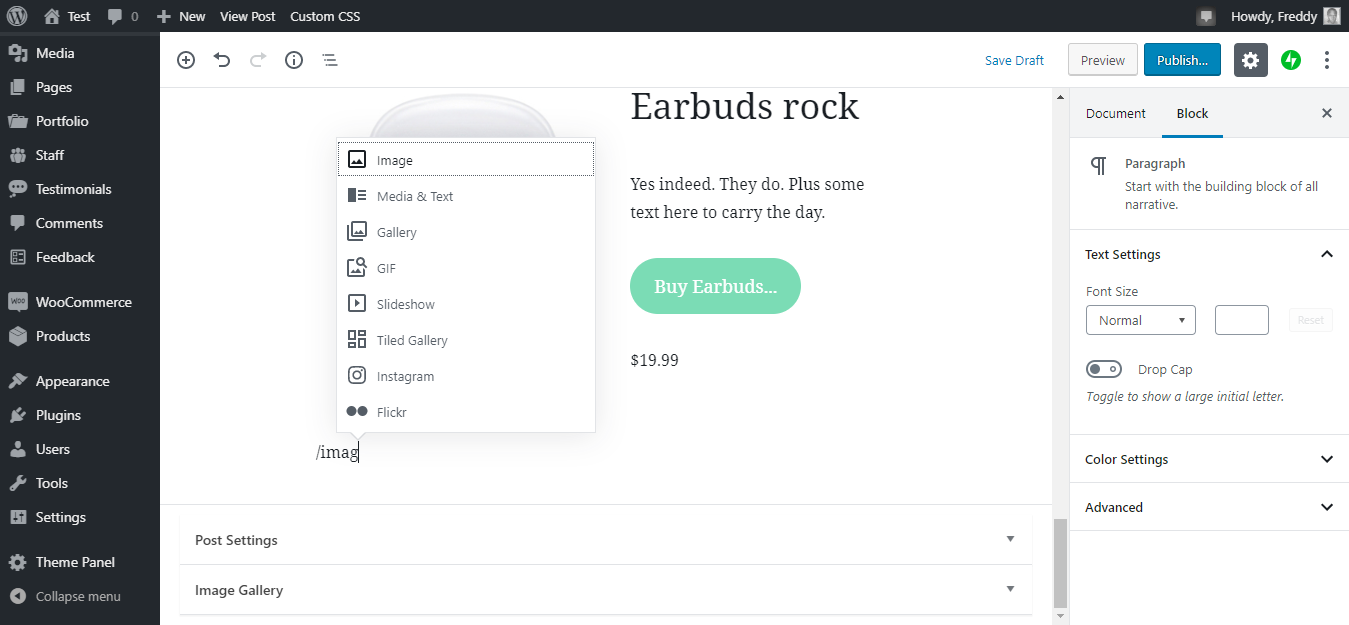
Gutenberg comes with a couple of hacks and keyboard shortcuts that make it even easier to. For instance, if you type “/” inside a paragraph block, it brings up a list of blocks.
You can even select a specific block by typing the title of the block after the backslash (/), e.g., typing “/image” brings up the image block among other image-related blocks. See image below for more details.
Keyboard shortcuts: To view all available shortcuts press SHIFT + ALT + H in Windows and OPT + CTRL + H in Mac.
At the top of the document, you can see the document structure by clicking the (i) icon, as shown below.
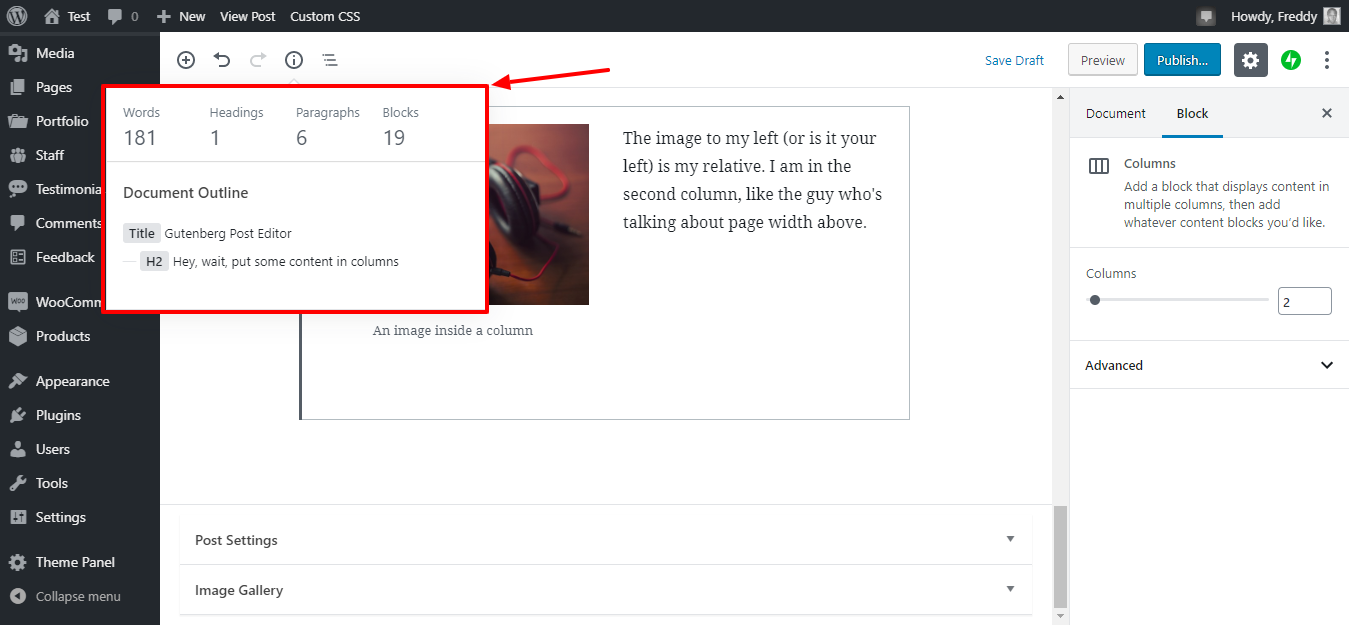
Nice. Extraordinarily smooth.
Oh, and by the way, the “Update Failed” error usually happens due to a shaky internet connection.
How to Add More Features to Gutenberg
Many third party developers have released extensions and add-ons for Gutenberg. These add more content blocks to the editor and range from generic to extremely niche.
Depending on your needs, you may want to use an add-on plugin – especially if you plan to use Gutenberg for all of your page building. In this case, there are a couple plugins we’d recommend in particle as they include a suite of blocks.
The first option is Spectra. Think of this as an everything-and-the-kitchen-sink. The free version includes just over 30 blocks and is compatible with many popular themes as well as other plugins.
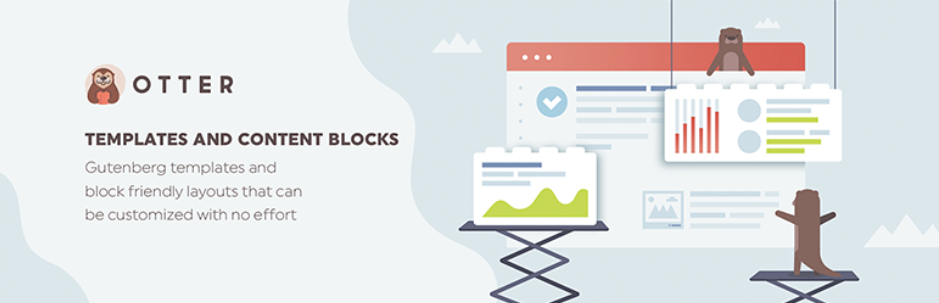
Another option is Otter Blocks. The cool thing about this plugin is that it was designed with full site editing in mind. So not only are there 25 blocks, ready to use patterns and even block visibility conditions but the plugin also works great for customizing your site as a whole.
One last note on both of these plugins (and other Gutenberg extensions). Are there premium versions for these plugins? Yes. Do you need to purchase them? No. Especially if you’re just starting your website, don’t feel pressured to spend money right away, the free versions are great.
Between you and me, Gutenberg is a fantabulous content editor. Provided you’re willing to learn the ropes; you can reap a lot from the WordPress editor of the future.
Gutenberg is still relatively young, and you can expect it to grow in terms of usability and functionality.
We hope our step by step guide to the Gutenberg editor helped you put things into perspective. We believe you can now use the block editor to create content like a pro.
Please share your concerns, thoughts, and questions in the comment section below.