

SSL stands for Secure Sockets Layer. It is used to secure the connection between internet browsers and Web server or websites by transferring the encrypted data rather than plain text. You can secure the HTTP connections by installing an SSL certificate. Installing an SSL certificate will allow for https:// connections instead of the standard http://. There are two types of certificates.
- SSL certificate issued by the Certificate Authority (CA)
- Self-Signed SSL certificate.
The main difference between these two types is that for a Self-Signed certificate, no third party is verifying the identity information of the Website and hence it is not trusted by any of the web browsers. So, accessing the website with self-signed SSL will prompt Untrusted Connection and you’ll have to Confirm Security exception manually. This is something users wouldn’t like to do. This is where SSL certificates verified by a CA comes into play. The CA verifies the website identity information and also provides CA Bundle (for browser compatibility). So these connections are accepted by almost all the browsers.
For installing SSL certificate (both types), we need to generate Private Key and CSR (Certificate signing request).
1) Generate Private Key On The Server
OpenSSL is the open source SSL package that comes along with most of the linux distros. Make sure openssl package is installed.
We are generating private key with openssl command as shown below.
openssl genrsa -des3 -out www.domain.com.key 2048
This will prompt a password, when you enter the passphrase and hit ‘Enter, the key file will be generated in the present working directory and the file name will be ‘www.domain.com.key’, where domain is name of the domain that you enter when the key is generated.

2) Generate Certificate Signing Request (CSR)
After generating your private key, you need to generate a CSR (Certificate Signing Request). You can easily create that with openssl command.
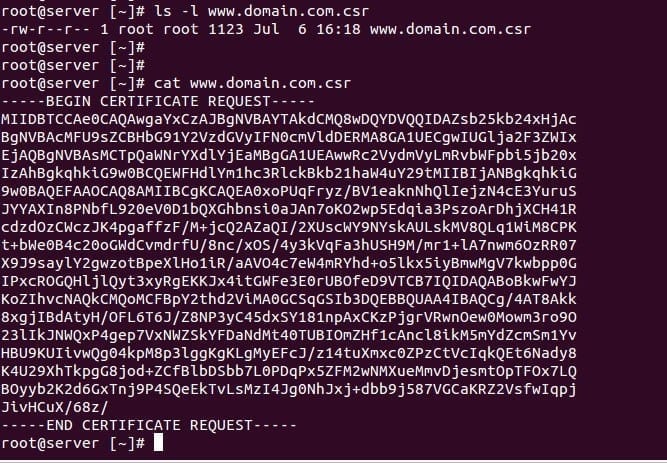
openssl req -new -key www.domain.com.key -out www.domain.com.csr
Few questions regarding the website identity will be asked and this will be checked by the certificate authority.
CSR will be generated in the present working directory with the file name ‘www.domain.com.csr’. Here is the screenshot of the CSR file.
3) Create SSL Certificate
After generating the Private key and CSR, you need to create the SSL certificate. Now is where the difference comes into play.
For a CA verified certificate, you need to provide CSR and Private key to the Certificate vendor. They will provide a CA verified certificate file (.crt file) and you can install it. But for a Self-Signed certificate, you need to generate the certificate manually.
Generating Self-Signed certificate
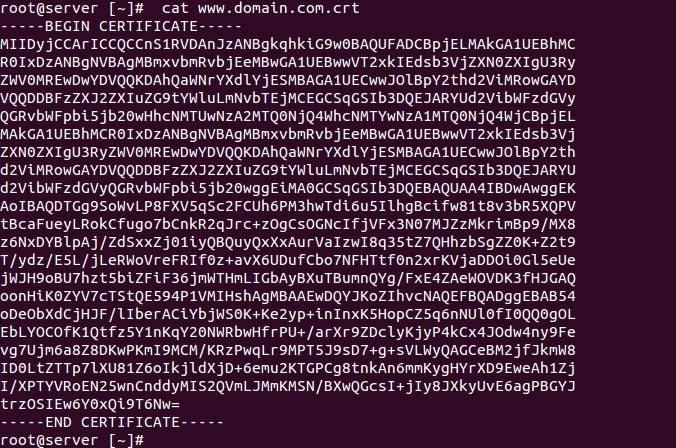
Certificate file will be generated with a private key and CSR encoded in it. All the information in the Private key and CSR will be encoded in the .crt file. The command is given below.
openssl x509 -req -days 365 -in www.domain.com.csr -signkey www.domain.com.key -out www.domain.com.crt
Certificate file will be generated in the present working directory as ‘www.domain.com.crt’, please note that domain.com is my domain name in this example and it should be replaced with the actual domain name. Here is the generated .crt file
To install this certificate for a website, you need to create a new VirtualHost for the domain name because SSL is using a different port and not the common port 80. SSL port is 443. So Apache will be listening to both 80 and 443 for the non-encrypted and encrypted data respectively. Or, you can create a separate conf file, in /etc/httpd/conf.d directory and then ask Apache to refer to the said directory with the ‘Include’ directive as shown below.
Include conf.d/*.conf
Now, add the below-given code either in the VirtualHost or in the separate configuration (eg: ssl.conf) file created in the /etc/httpd/conf.d directory.
SSLEngine on
SSLCertificateFile /path_of_crt_file/www.domain.com.crt
SSLCertificateKeyFile /path_of_key_file/www.domain.com.key
This will tell apache to refer to the .crt (certificate) file and .key (Private key) file for SSL encrypted connection.
4) Restart Apache
The final step is to restart the Apache service for the changes to take effect.
/etc/init.d/httpd restart
You can verify the SSL setup by just loading your website with HTTPS, eg: https://domain.com
If your website is loading with https, be sure you have SSL installed for your website.
Of course, if that all looks too much then you can just get us to install your SSL certificate for you. Or you can purchase a low-cost SSL certificate and we will do everything for you end to end. Simply contact us at View Source