

Microsoft Azure is one of the leading cloud computing providers in the ranks of Google and Amazon. Previously we had covered what cloud computing is all about and how to setup WordPress in a DigitalOcean droplet. Today we’re going to take a look at how to deploy WordPress to the cloud using Microsoft Azure cloud computing services.
Introduction
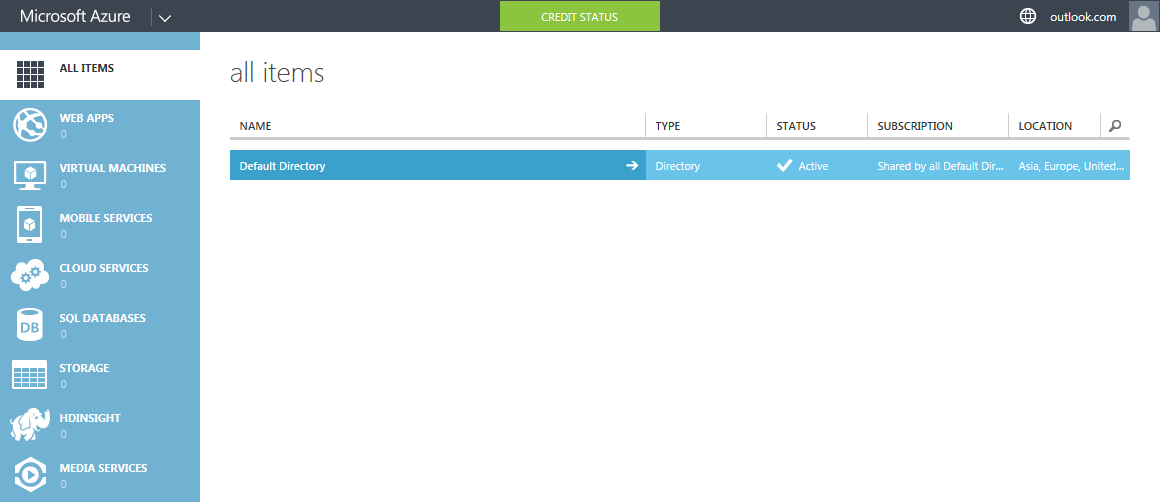
Cloud computing is much larger than what we’ve speculated in our introductory post. Once you register for Microsoft Azure, you’re get a glance of the innumerable possibilities cloud computing has to offer. Here’s a peek at the Microsoft Azure dashboard:
Here’s the sequence of events:
- Sign-up for a free Microsoft Azure account
- Deploy a new WordPress web app
- Configure WordPress installation
Phase #1 – Register a Microsoft Azure Account
Microsoft Azure offers a 30 day trial account, with $200 worth of cloud computing resources. This is a free account and requires a valid credit or debit card to work. The card is used for verification purposes only. Prepaid credit cards and virtual credit cards aren’t supported.
NOTE: I’ve personally signed up for Microsoft Azure’s service using a credit card. One dollar was charged and the amount was refunded within the next two business days.
One of the fundamental features of cloud computing is the pay-as-you-go model. This means you only have to pay for what you use. Some of us like to be very careful about the charges on our cards. After all, credit cards do entail certain risk. That being said, there is a possibility that if there’s heavy traffic load on our WordPress site, Azure would auto-scale the allocated resources to our app (WordPress) in order to balance the additional load. This would result in an increase in the monthly bill, hence variable bills.
Azure Spending Limit and Peace of Mind
Microsoft Azure has a clever workaround for it – they called it the Spending Limit. As the name suggests, with the spending limit active, Azure won’t let you spend more than the fixed amount. You can set this limit to any amount you want – starting from zero dollars.
For instance, let’s say you’ve set a spending limit of $20/month. Once you consume cloud computing resources worth $20, your resources will be suspended for the remainder of the month, or until you upgrade the spending limit.
The Good News: When you sign-up for a free trail account, a spending limit of zero dollars is automatically created. This gives you total peace of mind – your credit card won’t be charged unless you specifically increase the limit.
Phase #2 – Install WordPress Web-App
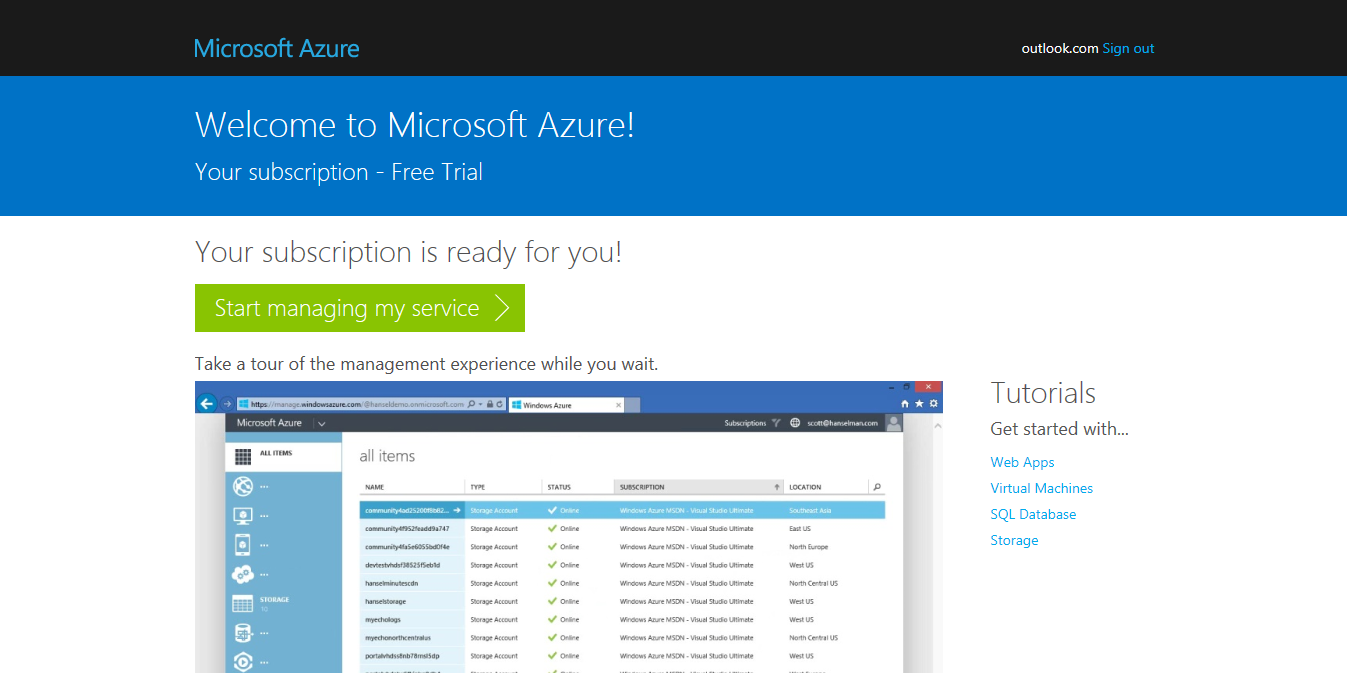
Once you’ve registered a Microsoft Azure account, proceed to the Azure Management Dashboard. It looks something like this:
Pretty cool huh? It gets even cooler. Thanks to WordPress’ popularity, cloud providers thought it would be best if they gave ready-made templates for WordPress. This step would relieve the customers of having to go through the trouble of installing WordPress in a cloud computing environment. We saw the same thing in DigitalOcean’s 1-Click WordPress installer.
Let’s count the number of steps it takes to install WordPress. Ready? Let’s go.
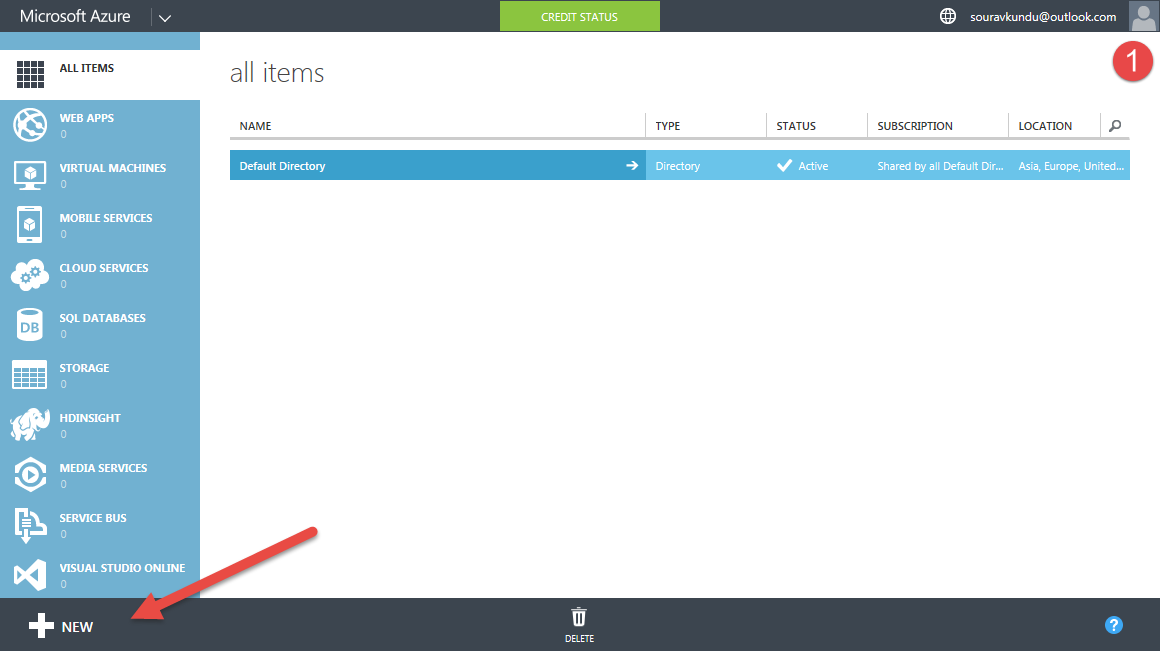
Step #1
Login to you Azure Management Dashboard.
Step #2
Navigate to the menu bar at the bottom of the screen and press New.
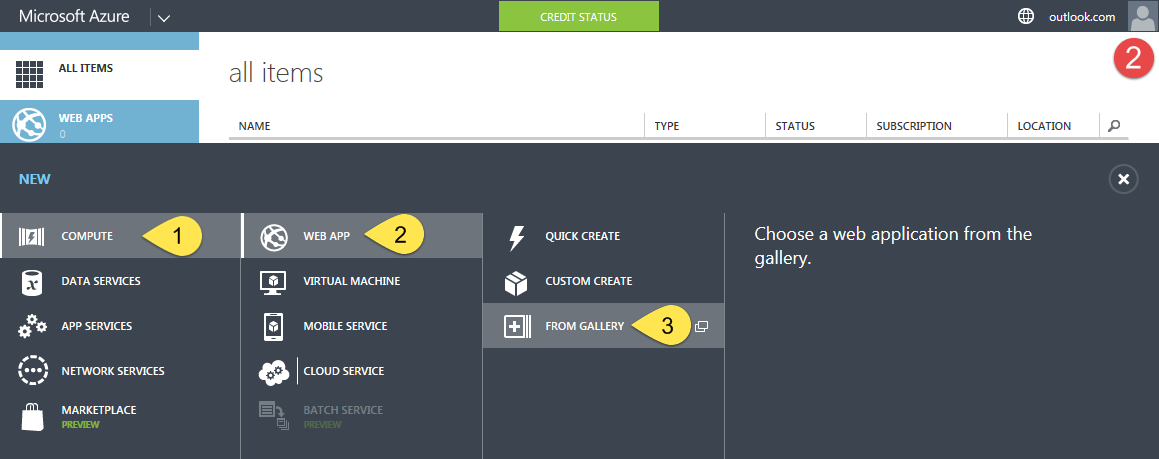
Step #3
Select Compute > Web App > From Gallery. A new window would open up.
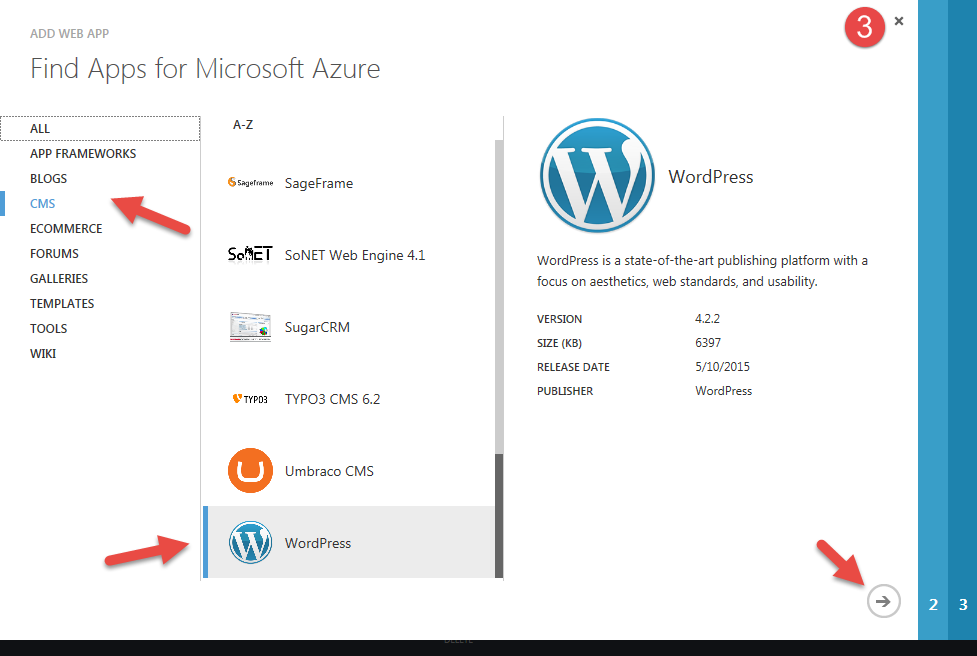
Step #4
The gallery displays all the available apps for 1-click installation. They’ve been tested to seamlessly work with Azure’s cloud computing environment. From the menu on the left, select CMS. On the right, scroll down to find WordPress. Select WordPress and click the next arrow.
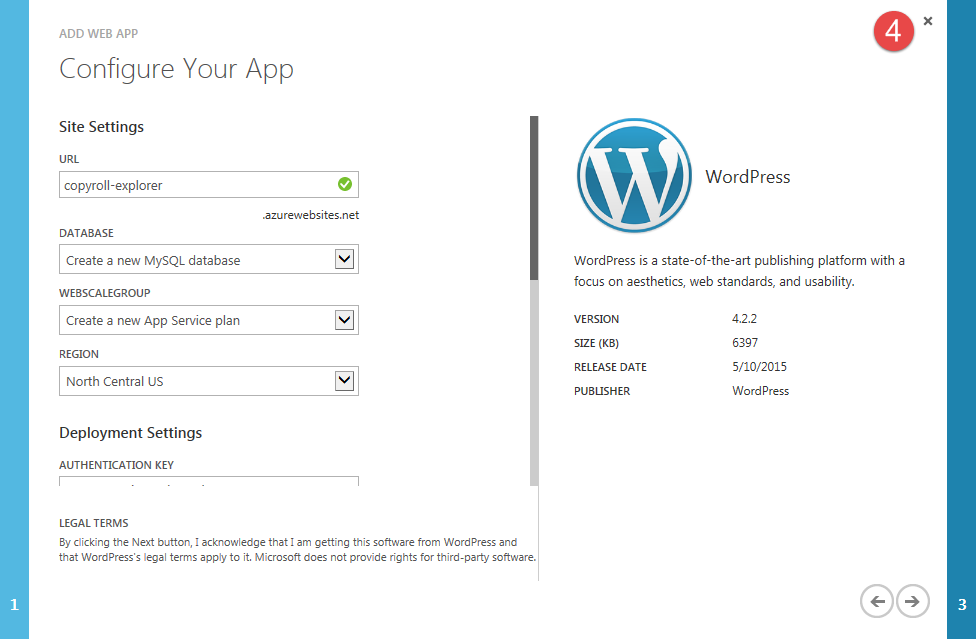
Step #5
Under Site Settings, simply enter the name of your site. Leave the rest of the settings, along with Deployment Settings as is. You could select a different Region however, based on your target audience. Proceed to the next step by clicking the next arrow.
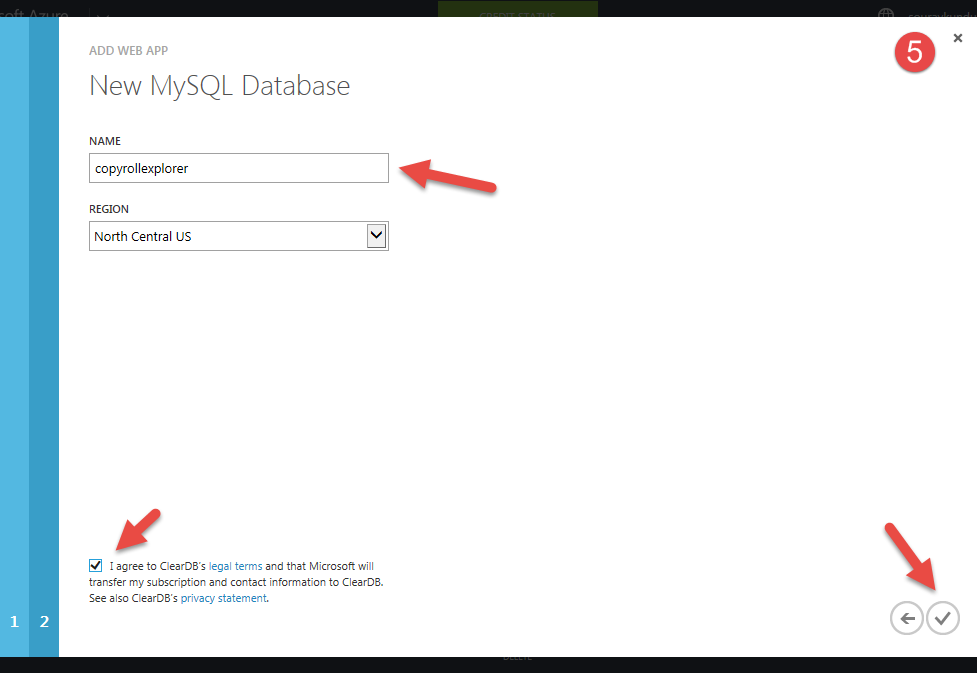
Step #6
Now as we know, WordPress needs a database to store the site’s content. In this step we’ll give a name to the database used by our WordPress site Click the tick button, and Azure will start creating the web-app for you.
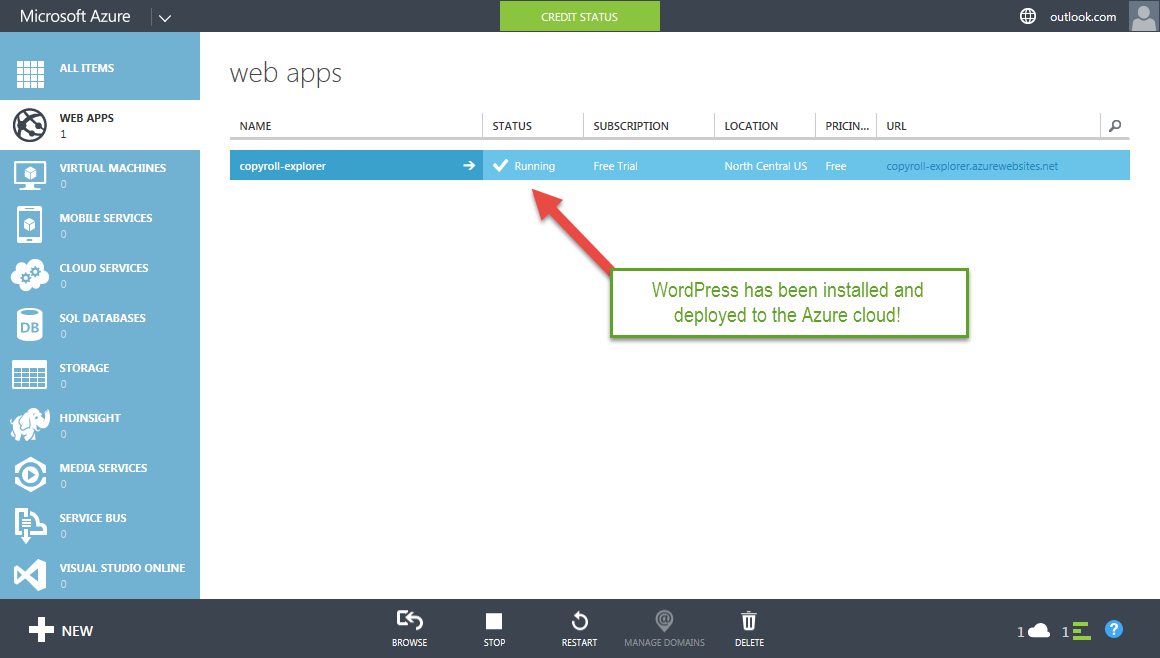
Step #7
Once it’s created, you’ll find a new entry under web-apps by the name you chose in Step #4. That’s it WordPress is created and running. Click on the URL to launch your cloud powered WordPress site. Azure gives you a free subdomain for all your hosted apps.
Step #8
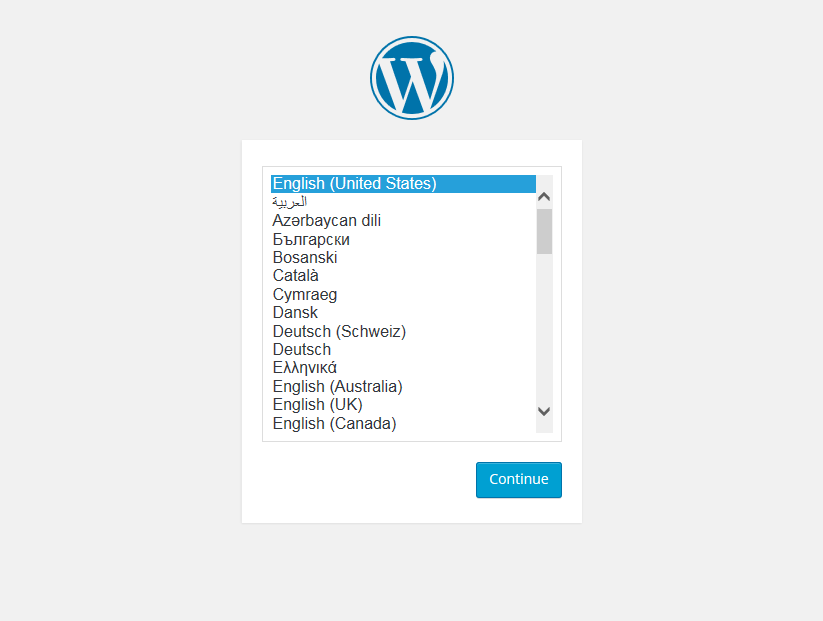
From now on, it’s the famous 5 minute install. Select your desired language and click Continue.
Step #9
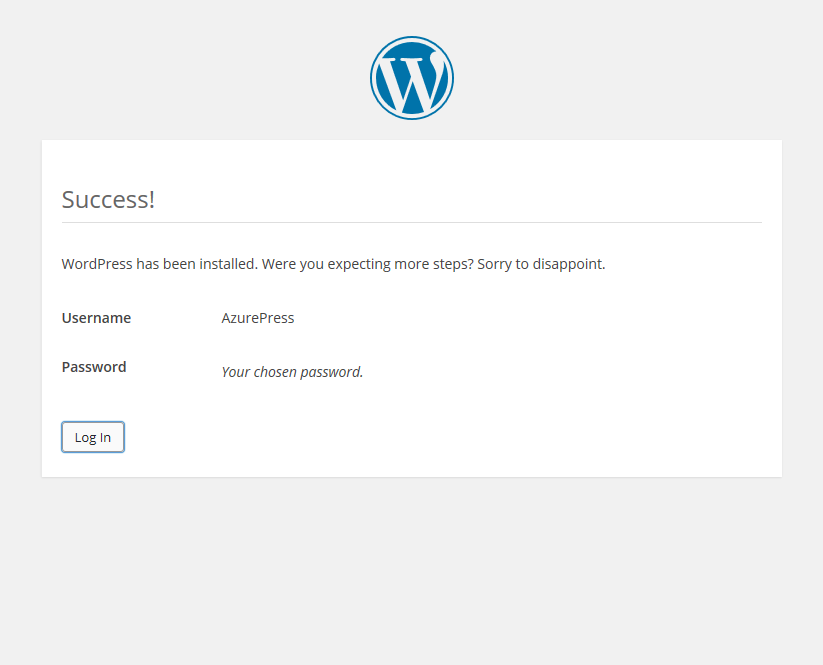
Fill in the necessary information and remember no to use Admin as a username. I’ve disabled the Privacy setting since this is a test site. Click on Install WordPress to continue.

Step #10
Yep, WordPress has been installed. Now you can proceed to login to the WordPress dashboard.
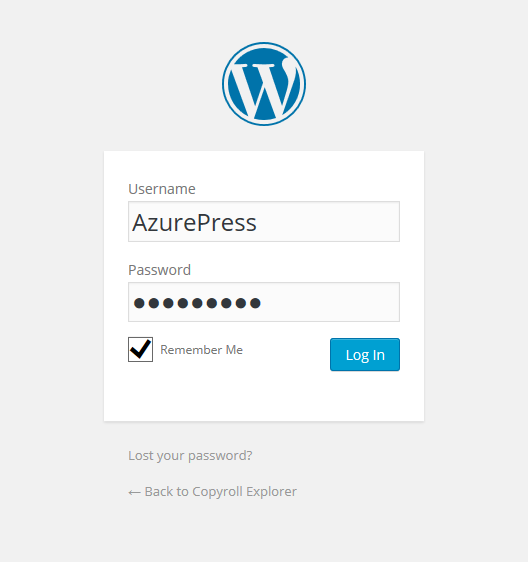
Step #11
Enter the login details you set in Step #9 and click Log In.
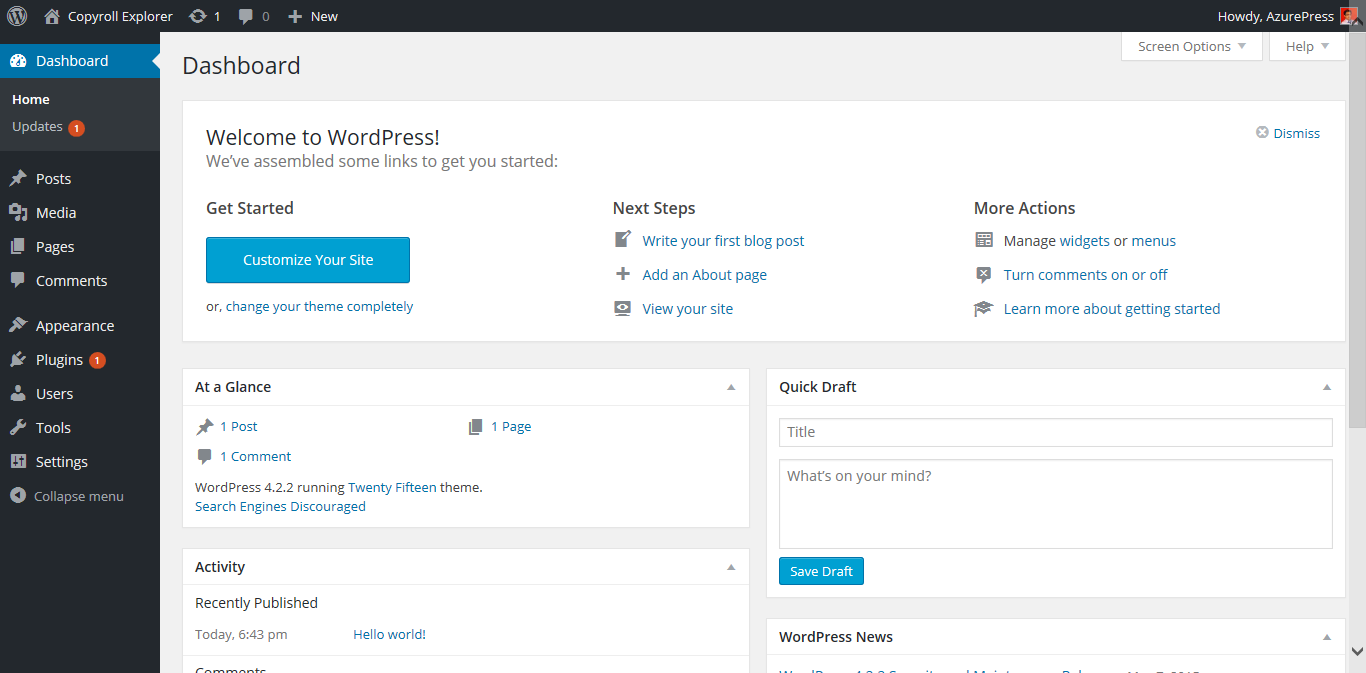
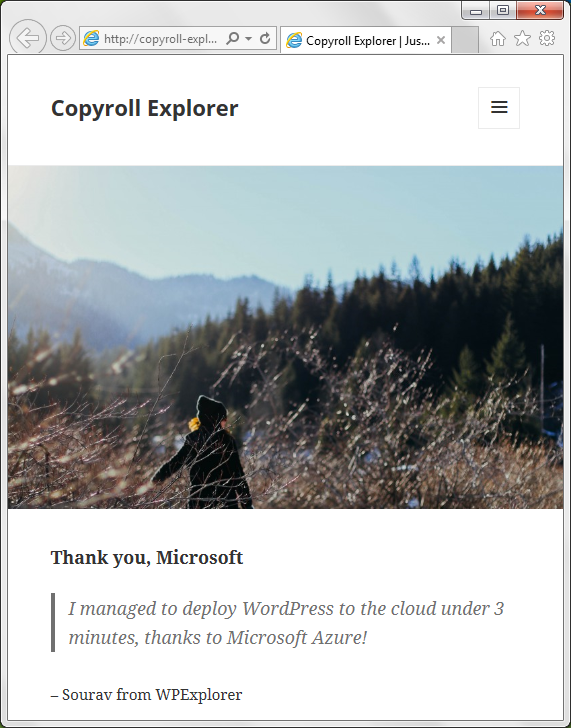
Boom – your WordPress dashboard is ready. Now you can install your favorite multipurpose WordPress theme, add a few plugins and add your content.
And here’s your front-end. Works great!
Advanced Settings in Microsoft Azure
I’ll be honest with you – there are so many features roofed under the Azure Management dashboard, I barely know 30% of them. Of the few that I do understand, I found them to be quite interesting and I’m sharing them with you.
In order to access these settings, you’ll need to click on the entry of your WordPress web app. This will launch the Dashboard. Under the Configuration tab, you’ll find a host of software – .NET, PHP, Java, Python, etc. – all of which you can enable/disable with a switch! Now that’s convenient! No need to worry about installing Java (those who’ve done this before will know). Turn on the switch, and Java’s ready for work.
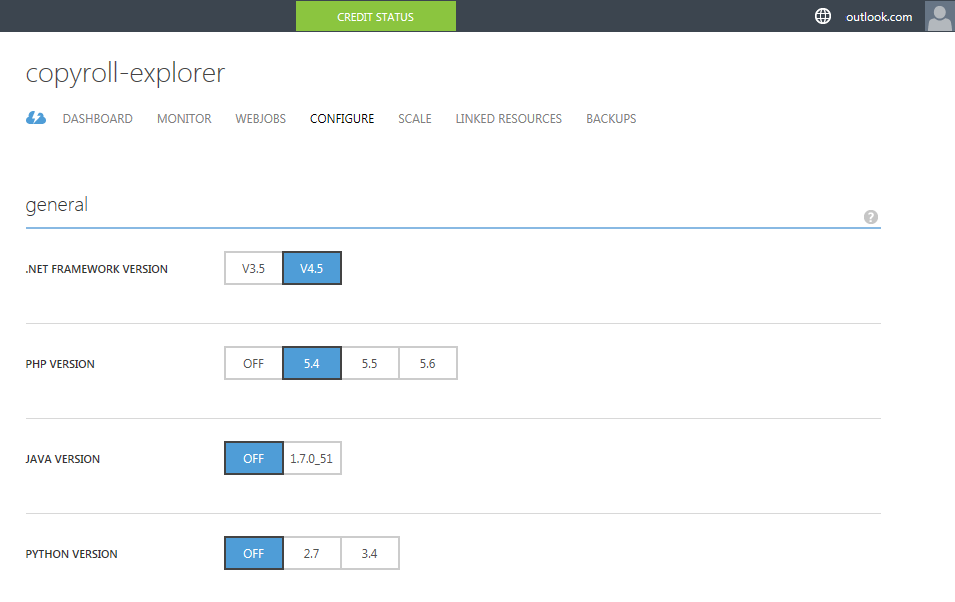
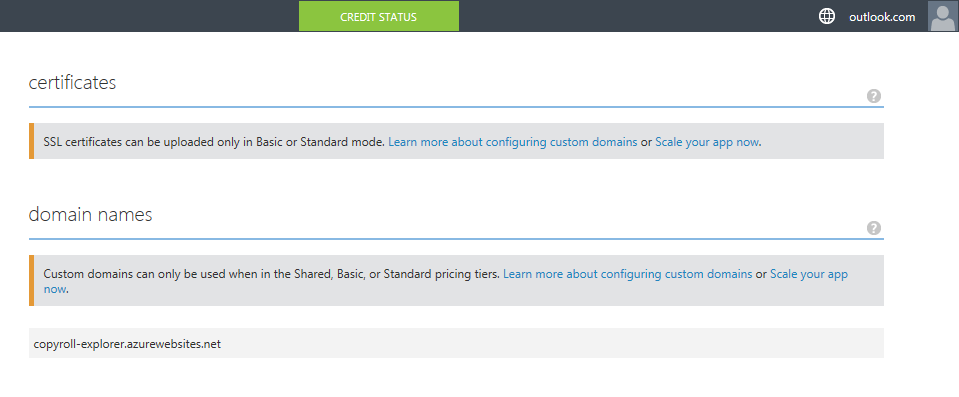
Unfortunately, domain name mapping isn’t allowed in the free trail. I suggest you upgrade to Pay As You Go membership to enable custom domain names.
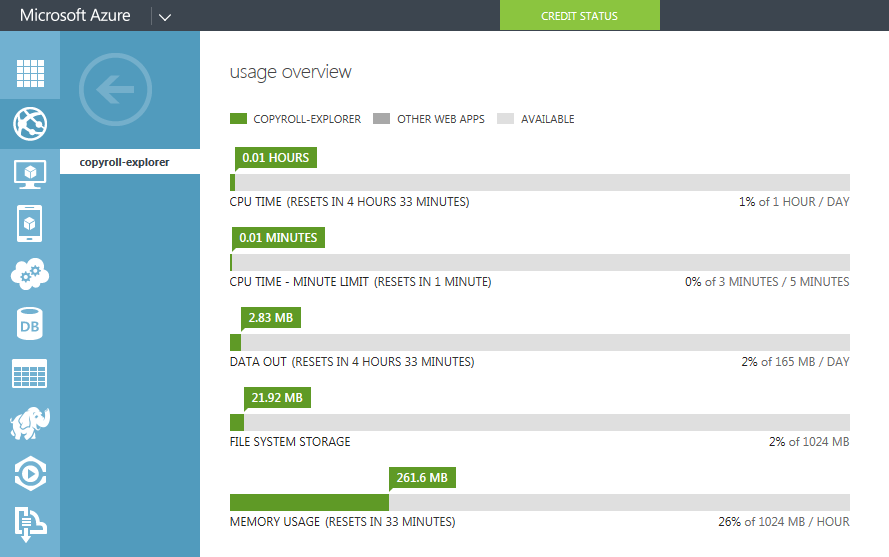
You can get a bird’s eye view of the resources consumed by WordPress, relative to a fixed unit of time. The default is an hour and you can change it as per your requirements.
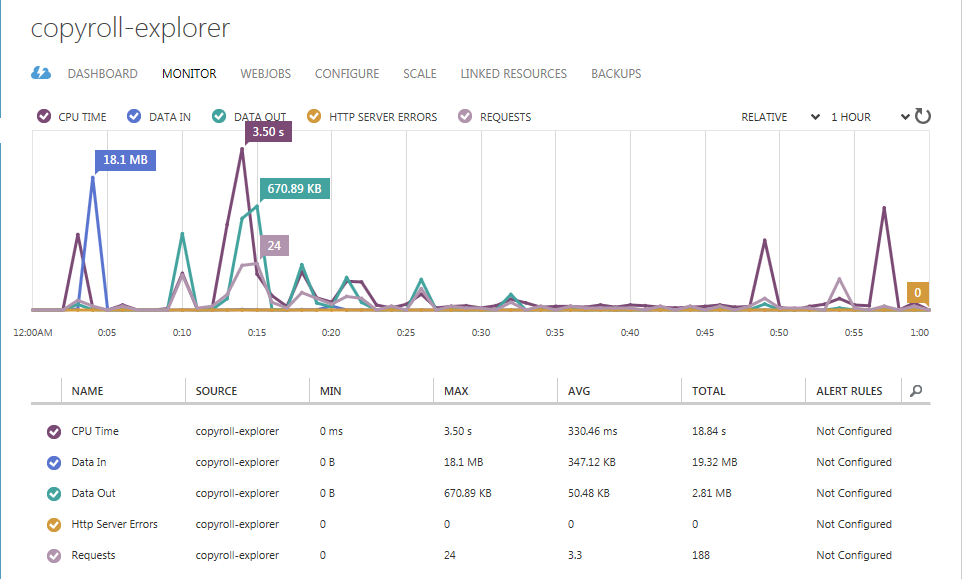
The Usage Overview displays the amount of resources consumed by WordPress. Each of these resources have a reset time. For example, CPU Time is limited to 1 hour every 24 hours. Data out (or outgoing traffic) is limited to 165MB per day and RAM is limited to 1GB per hour.
Conclusion
Installing WordPress in Microsoft Azure cloud computing platform gives us a glimpse of the amazing things cloud computing has in store for us. Not just WordPress, you can experiment with multiple instances of all the web-apps in the gallery. If you like what you see, give Microsoft Azure a try – and let us know what you think!